
Planting
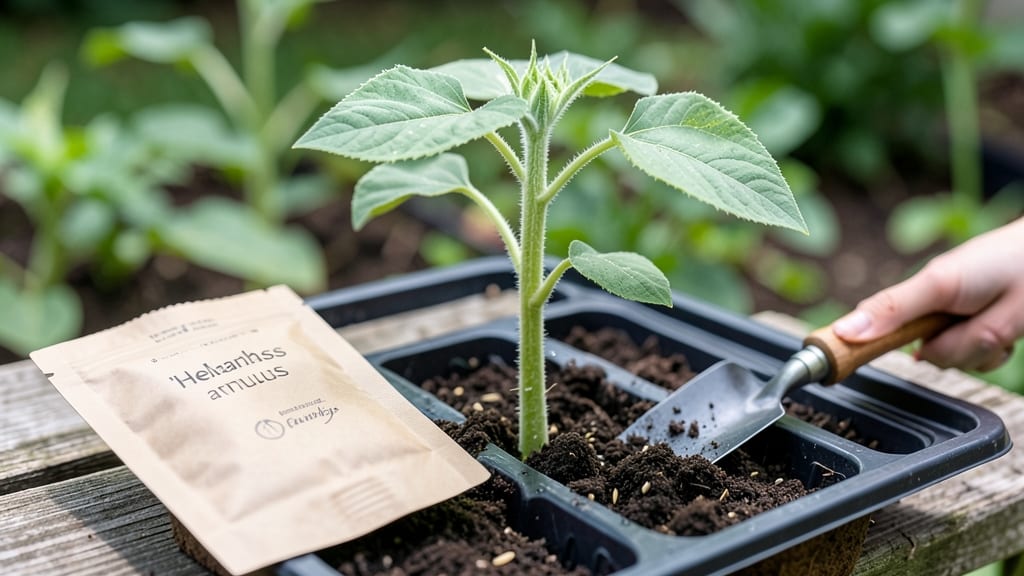
A little seed for me to sow holds a world of possibility—just waiting for the right conditions to unfold. 🌱 I’ve saved seeds from my garden for years, and the key to success starts long before you tuck them into paper envelopes.
The twist-free harvesting method isn’t just about collecting seeds; it’s about preserving their future. First, let’s talk soil prep and planting depth—because even the best seed needs the right start.
A simple mix of potting soil and compost gives seedlings the nutrients they crave, while planting at the correct depth (usually twice the seed’s width) ensures roots grow strong, not weak. Water gently but thoroughly, keeping the soil damp but never soggy—this is where most beginners stumble.
By the time your seedlings sprout, you’ll see their potential take shape: vibrant green leaves reaching for the light. The trick is consistency—steady moisture, bright indirect sunlight, and patience. Even if some seeds don’t make it, you’ll learn what works for your space.
This method scales from a windowsill to a greenhouse, proving that great harvests begin with tiny, intentional steps. Let’s get those seeds ready for next season!
📚 In This Guide
- What you need
- Instructions
- Tips and common mistakes
- Wrapping up and next steps
What you need
- ● Mature, healthy plants: Choose disease-free, open-pollinated varieties (avoid hybrids like F1 seeds). Quantity: 3–5 plants per seed type.
- ● Sharp pruning shears or scissors: Sterilized (rubbing alcohol wipe) to prevent contamination. Specs: Small blades (2–4 inches).
- ● Brown paper bags or breathable seed envelopes: Quantity: 1 per plant type; label with plant name + date.
- ○ Fine-mesh sieve (optional but helpful): Specs: 0.025-inch (600-micron) mesh for cleaning seeds.
- ● Drying rack or clean tray: Elevate seeds for airflow (e.g., wire rack or cardboard box with holes).
- ● Air-tight storage containers: Glass jars with tight lids or Mylar bags with oxygen absorbers. Size: Small (4–8 oz) for seeds.
- ● Permanent markers or labels: Waterproof for humidity-prone environments.
- ● Desiccant packets (silica gel): 1–2 per container to control moisture.
- ● Dry, shaded space: 60–70°F (15–21°C) with <50% humidity for drying seeds (2–4 weeks).
- ● Cool, dark storage: Below 40°F (4°C) for long-term viability (e.g., fridge or root cellar).
How to harvest and store seeds without twisting or damaging them
Here's how I save seeds from my garden—no tangles, no wasted harvests, just pure viability.
🌱 Step 1: Choose Ripe, Healthy Seed Pods
Pick pods when they're fully mature but just before they split open. For tomatoes, that's when they turn deep red and feel slightly soft to the touch. With beans, wait until the pods are dry and papery—no green streaks allowed. I test by gently squeezing; if seeds rattle inside, they're ready.
Skip any pods that look shriveled, moldy, or chewed by pests. You want seeds that'll germinate strong, not ones that'll rot in storage. A quick sniff test helps too—sweet or neutral smells mean good seeds; sour or musty means toss them.
💧 Step 2: Dry Seeds Thoroughly Before Handling
Spread pods on a clean, dry surface in a single layer. I use a wire mesh screen or paper towels to let air circulate—never a closed container. Place them in a warm, dry spot (around 70-75°F) away from direct sunlight, which can overheat them.
Check daily for 3-7 days until the pods are completely dry and brittle. You'll know they're ready when a gentle bend makes them snap easily. If moisture lingers, seeds will mold or develop off-flavors. Patience here prevents future headaches.
✂️ Step 3: Extract Seeds Gently to Avoid Damage
For pods like tomatoes or peppers, I use a small knife or tweezers to slice open the dry husk. Never twist—it crushes seeds and ruins viability. Instead, make a tiny cut and let the seeds fall out naturally. For beans or peas, simply pinch the pod between your fingers until it pops open.
Spread seeds on a fresh paper towel to catch any debris. I like to separate them by variety in small envelopes right away. Label each with the plant name and harvest date—trust me, you'll forget by next spring.
🪴 Step 4: Store Seeds in Cool, Dark Conditions
Place dried seeds in airtight containers (I use glass jars with tight lids). Add a silica gel packet to absorb any lingering moisture. Store them in a cool, dark place—a pantry or fridge works best. Most seeds stay viable for 2-5 years this way, depending on the type.
Never store seeds in the freezer unless they're extremely moisture-sensitive. The temperature swing can cause condensation, which ruins them faster. Check containers every 6 months for pests or mold—if you see anything, start fresh with new seeds.
⏰ Step 5: Test Viability Before Next Planting Season
Before sowing, do a quick germination test: Moisten a paper towel, place 10 seeds on it, and fold it over. Seal in a ziplock bag and keep in a warm spot (70-80°F). Check for sprouts in 5-10 days. If 80%+ sprout, your seeds are good to go.
If germination drops below 50%, save those seeds for crafts or compost. Low viability means they won't perform well in the garden. This simple test saves time and money—no surprises when you're ready to plant.
Tips & tricks for perfect seed harvesting
Here's what I learned after wasting years of seeds through careless handling—these tricks preserve every last one.
Ripeness is Everything: The 3-7 day drying window in Step 2 is your golden opportunity. I've learned to check pods daily for that "snap test"—if they bend and crackle, they're ready. Overripe pods split open on their own and scatter seeds everywhere. Look for that perfect balance between firmness and brittleness, especially with tomatoes where the skin should just start softening.
Tool Selection Matters: That tiny knife or tweezers in Step 3 makes all the difference. I keep a pair of small scissors in my seed-saving kit for stubborn pods. The key is to make a small incision—just enough to let seeds fall out naturally. Twisting or crushing pods releases oils that reduce viability. For beans, I've found that gently rolling them between my fingers works better than pinching, as it prevents accidental seed damage.
Storage Environment Secrets: The cool, dark place mentioned in Step 4 doesn't have to be fancy. I use the back of my pantry where the temperature naturally stays around 65-70°F. The critical factor is consistency—avoid areas near windows or appliances that cause temperature swings. I also add a small piece of chalk to my jars as a moisture indicator; if it turns damp, I know to move the seeds to a drier spot.
Labeling System: Don't just write the plant name—include the harvest year and variety. I use tiny masking tape flags on my jars because the labels eventually wear off. For heirloom varieties, I add a quick sketch of the plant. This simple habit saved me from planting the wrong seeds last spring when my tomato labels faded after a year.
Pro Tips for A Little Seed For Me To Sow
- Here's what I learned after wasting years of seeds through careless handling—these tricks preserve every last one.
- Ripeness is Everything: The 3-7 day drying window in Step 2 is your golden opportunity.
- Tool Selection Matters: That tiny knife or tweezers in Step 3 makes all the difference.
Frequently asked questions
Got questions about storing seeds the twist-free way? You’re in the right place!
Here are answers to the most common queries—so you can harvest, preserve, and plant with confidence.
What’s the best time to harvest seeds for storage?
Harvest seeds when they’re fully mature but before they fall naturally from the plant. For most veggies (like tomatoes or peppers), this means waiting until the pods dry slightly on the vine but still crack open easily. Herbs and flowers? Pick them when they’re dry and brownish. Pro tip: Morning harvests work best—seeds are crisp and less prone to mold.
Can I store seeds without drying them first?
Nope! Moisture is the enemy of long-term seed storage. Always dry seeds thoroughly (3–7 days in a cool, dark, well-ventilated spot) before storing. Wet seeds = moldy seeds. Alternative: Use a food dehydrator on low heat for 2–4 hours if you’re short on time. Just avoid high heat—it kills viability!
How long do twist-free stored seeds last?
With proper drying and storage (cool, dark, airtight), most seeds stay viable for 1–5 years, depending on the type. Leafy greens (like lettuce) may last only 1–2 years, while beans or peas can survive 3–5+ years. Label everything! Write the harvest date on your containers—it’s a game-changer for tracking freshness.
What if my seeds get damp during storage?
Don’t panic! Remove seeds from the container immediately and spread them out to dry again in a single layer. If mold appears, toss those seeds (safety first!). For future-proofing, add a desiccant packet (like silica gel) to your storage container to absorb excess moisture. Bonus tip: Store seeds in the fridge or freezer for extra-long shelf life.
Are there seeds that don’t work well for twist-free storage?
Yes! Seeds with high oil content (like sunflower or squash) or those prone to sprouting (like onions) may not last as long. These types benefit from short-term storage (under 1 year) or freezing. For tricky seeds, try vacuum-sealing or using mylar bags with oxygen absorbers. Experiment! Test a few seeds annually to check viability.
Wrapping up and next steps
A little seed for me to sow isn’t just a phrase—it’s an invitation to nurture the future, one careful harvest at a time. 🌱 By mastering twist-free seed storage, you’re not just preserving potential; you’re ensuring the legacy of your garden thrives for seasons to come. Your next step? Start small—try storing a few seeds today, and watch how this simple habit grows into a rewarding practice.
Remember: every expert gardener began with a single seed. Now, go ahead—let your curiosity (and your seeds) flourish! 🌿