
Propagation
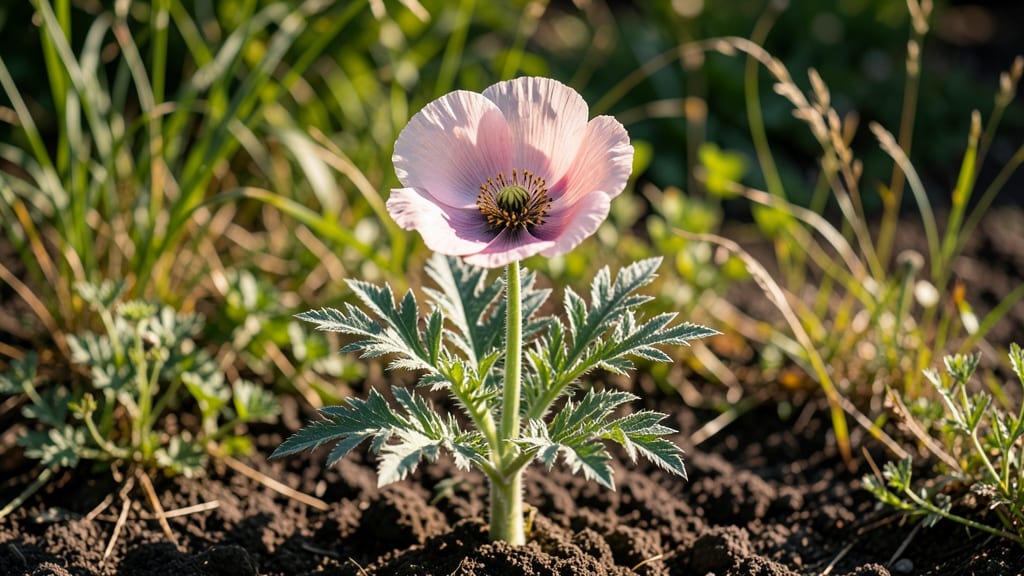
Saving breadseed poppy seeds from pod to storage is like unlocking a treasure chest of heirloom potential. 🌱 These seeds—harvested from the delicate papery pods of Papaver somniferum—are the key to growing your own poppies year after year, whether for their stunning blooms or culinary uses.
The process starts with patience: letting pods dry completely on the stalk before gently coaxing out the tiny, black seeds inside.
You’ll need just a few simple tools: pruning shears for harvesting mature pods, a clean tray for drying, and breathable paper bags for storage. The real magic happens in the timing—wait until pods turn brown and crispy before collecting, usually 3-4 weeks after flowering.
A sunny windowsill or dry, airy spot works perfectly for drying, and proper storage in cool, dark conditions keeps seeds viable for 3-5 years.
Once dried, the seeds are ready to replant or share. The payoff? Poppies that return year after year with the same vibrant colors and sturdy stems, plus the satisfaction of preserving a plant that thrives in both gardens and kitchens.
No fancy equipment needed—just a little attention to detail and the right moment to harvest.
This method works for gardeners in USDA Zones 3-9, though timing may shift slightly based on your climate. Whether you’re growing for ornamental beauty or culinary uses, these seeds are a game-changer for self-sufficient gardening. Let’s get those pods drying!
📚 In This Guide
- What you need
- Instructions
- Tips and common mistakes
- Wrapping up and next steps
What you need
- ● Mature breadseed poppy plants (ensure pods are fully dry and brown, ~60-90 days post-flowering).
- ● Pruning shears or sharp scissors (for harvesting pods cleanly).
- ● Paper bags or breathable mesh bags (1-2 per plant to collect pods; avoid plastic to prevent moisture buildup).
- ● Drying tray or cardboard box (lined with newspaper or parchment paper for spreading pods).
- ● Fine-mesh sieve or colander (to separate seeds from chaff; 1/16" mesh size works well).
- ● Small bowls or containers (for sorting seeds; 2-3 sizes for efficiency).
- ● Labeled envelopes or airtight containers (for storage; 3x5" envelopes or mason jars with silica gel packs).
- ● Permanent marker or labels (to note variety, harvest date, and location).
- ○ Fine paintbrush or tweezers (optional but helpful for removing stubborn seed debris).
- ● Desiccant packs (for long-term storage to absorb excess moisture).
- ● Humidity monitor (to ensure storage conditions stay below 30% humidity).
- ● Glove or cloth (to handle seeds gently and avoid contamination).
- ● Digital scale (for precise seed viability testing; 0.1g accuracy).
- ● Seed germination testing kit (to check viability before planting).
Step-by-Step guide to harvesting and storing breadseed poppy seeds
Turn your poppy pods into a harvest of viable seeds—here’s how to do it right from garden to storage.
🌱 Step 1: Identify and Harvest Ripe Pods
Breadseed poppies (Papaver somniferum) produce distinctive blue-green pods that turn brown and papery when ready for harvest. Watch for the pods to split open naturally—this is your cue they’re mature. If they’ve already cracked, act fast to prevent seed loss.
Use clean, dry shears to snip pods from the stem, leaving about 1 inch of stem attached. This helps preserve the seed head’s integrity during drying. Place pods in a single layer on a paper towel-lined tray in a dry, well-ventilated area. Avoid plastic bags—they trap moisture and encourage mold.
💧 Step 2: Dry Pods Thoroughly
Spread pods out in a warm, dry spot with indirect sunlight (direct sun can scorch them). A temperature of 65-75°F is ideal for even drying. Stir them gently every 2-3 days to ensure all sides dry uniformly. You’ll know they’re ready when the pods feel light and brittle and the seeds rattle inside.
If pods begin to mold (you’ll see fuzzy spots or musty smells), move them to a cooler, drier location immediately. Moldy seeds won’t store well, so don’t risk it. A small fan on low speed can help speed up drying without damaging the pods.
✂️ Step 3: Extract Seeds from Dried Pods
Once fully dry, gently crush each pod between your fingers over a clean white tray or paper. The seeds will spill out easily—avoid squeezing too hard, as this can damage the seed coats. Discard any empty or shriveled pods, as they won’t yield viable seeds.
Use a fine-mesh sieve to separate seeds from chaff and debris. Shake the sieve gently over a bowl to catch the seeds while letting lighter debris fall through. Repeat the process until only clean seeds remain. Store the sieve and bowl exclusively for seed processing to avoid cross-contamination.
🪴 Step 4: Clean and Store Seeds Properly
Spread the cleaned seeds on a paper towel or mesh screen in a single layer and let them air-dry for an additional 24 hours. This final step ensures any lingering moisture evaporates, preventing spoilage during storage. Seeds should feel completely dry to the touch—no dampness at all.
Transfer seeds to an airtight glass jar or vacuum-sealed bag labeled with the variety and harvest date. Store in a cool, dark place (like a pantry or refrigerator) where temperatures stay below 60°F. Under these conditions, breadseed poppy seeds retain viability for 3-5 years.
⏰ Step 5: Test Seed Viability Before Planting
Before using saved seeds, test their viability by placing 10 seeds between damp paper towels in a sealed container. Keep them in a warm spot (70-75°F) and check daily. Seeds that sprout within 7-14 days are viable. If fewer than half sprout, store the remaining seeds in the freezer for another year—the cold slows moisture loss and extends shelf life.
If germination rates are low, consider refreshing the seed stock by planting a small batch. Breadseed poppies are biennial, so saved seeds may take longer to mature in subsequent years. Keep detailed notes on each batch to track performance over time.
Tips & tricks for perfect breadseed poppy seed harvesting
Saving viable breadseed poppy seeds requires patience and precision—here’s how to avoid common pitfalls and maximize your harvest.
Pod Selection: In Step 1, prioritize pods that have naturally split open along their seams. These pods contain fully mature seeds ready for harvest. If pods are still intact but brown and papery, they’re close—harvest them within 24 hours to prevent seed loss from natural dehiscence. Avoid green or firm pods, as they won’t yield viable seeds.
Drying Environment: The 65-75°F temperature range in Step 2 is critical for even drying. If your space runs warmer, move pods to a cooler location or extend the drying period slightly. A small fan on low speed can help circulate air without damaging delicate pods. Watch for condensation on the tray—this indicates humidity is too high and needs adjustment.
Seed Extraction: When crushing pods in Step 3, work over a clean white surface to easily spot any debris or empty pods. The seeds should spill out effortlessly—if you’re struggling, the pods may not be fully dry. A fine-mesh sieve is your best friend here; shake it gently over a bowl to avoid losing seeds through the mesh. For large harvests, consider using a colander instead of a sieve for faster processing.
Storage Wisdom: The 24-hour final drying period in Step 4 is non-negotiable—this eliminates any lingering moisture that could cause spoilage. Store seeds in glass jars rather than plastic, as glass provides better long-term protection against light and moisture. Label each jar with the harvest date and variety; this helps track seed age and viability over time. A small packet of silica gel in the jar can absorb any residual moisture during storage.
Pro Tips for Breadseed Poppy Seeds
- Saving viable breadseed poppy seeds requires patience and precision—here’s how to avoid common pitfalls and maximize ...
- Pod Selection: In Step 1, prioritize pods that have naturally split open along their seams. These pods contain fully ...
- Drying Environment: The 65-75°F temperature range in Step 2 is critical for even drying. If your space runs warmer, m...
Frequently asked questions
Got questions about saving breadseed poppy seeds?
You’re not alone! Here are answers to the most common queries—from harvesting to storage—to help you succeed with this rewarding process.
When is the best time to harvest breadseed poppy pods?
Harvest pods when they’re dry, papery, and turning brown—usually 4–6 weeks after flowering. If you wait too long, seeds may scatter. Morning harvests work best since dew keeps pods firm. Avoid harvesting if rain is forecasted within 24 hours.
How long does it take for breadseed poppy seeds to mature?
From planting to seed maturity, expect 8–12 weeks in warm climates (60°F+). Cooler regions may need 14–16 weeks. Key sign: Pods will split open if left unharvested—act fast! Track your plants’ growth to predict the ideal harvest window.
Can I save seeds from store-bought breadseed poppy plants?
Yes, but with a caveat: Store-bought plants may be hybrids or treated with fungicides. For true-to-type seeds, grow from saved seeds for 1–2 generations. If you’re unsure, opt for seeds from a reputable seed saver or organic grower.
What’s the best way to store breadseed poppy seeds long-term?
Store seeds in a cool (32–40°F), dry place (like a fridge) in airtight containers with silica gel packets. Label with the harvest date! Under ideal conditions, seeds stay viable for 3–5 years. Pro tip: Test germination annually by planting a few seeds.
Why aren’t my breadseed poppy pods opening or producing seeds?
Common culprits:
- Poor pollination: Hand-pollinate with a soft brush if bees are scarce.
- Overcrowding: Thin plants to 12–18 inches apart for better airflow.
- Environmental stress: Ensure full sun (6+ hours/day) and well-draining soil.
Wrapping up and next steps
Saving breadseed poppy seeds from pod to storage is a rewarding way to ensure a steady supply of these versatile seeds—whether for gardening, baking, or bird feeding! 🌱 With the right tools and patience, you can turn a handful of pods into a treasure trove of seeds for years to come. Now that you’re equipped with the knowledge, why not give it a try?
Start with a small batch of pods, follow the steps, and soon you’ll be enjoying fresh, homegrown poppy seeds. Happy saving—and happy growing! 🌟