
Lawn
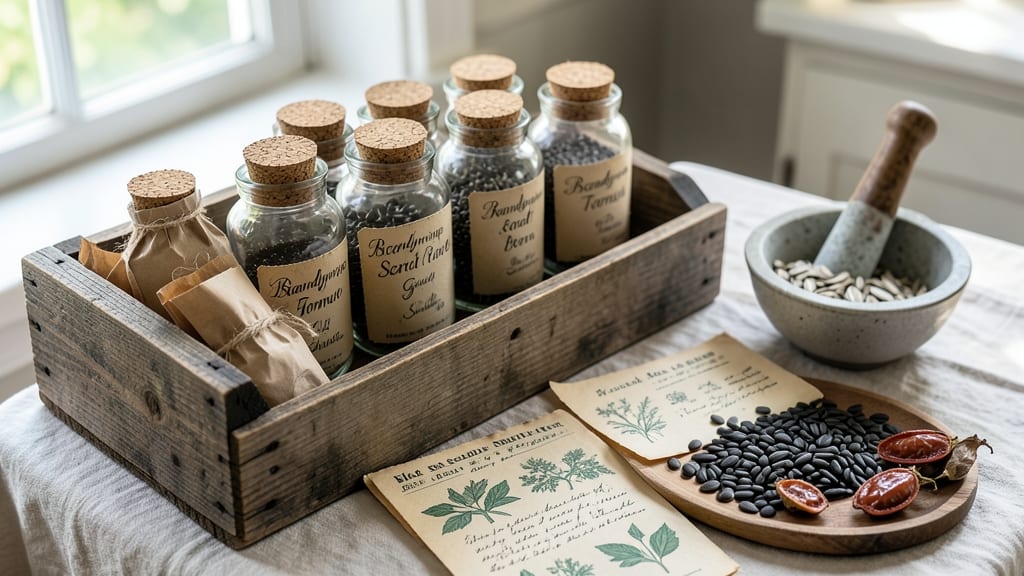
Saving seeds from your garden isn’t just about growing heirloom tomatoes—it’s about keeping history alive in your backyard. 🌱 The Seed Savers Exchange connects gardeners who want to preserve rare varieties, share knowledge, and grow food that’s tied to tradition, not corporate seed banks.
I started swapping seeds with neighbors five years ago, and now my garden overflows with plants I’d never find in stores.
Joining or starting an exchange is simpler than you’d think. You’ll need just a few basics: dry, mature seeds, labeled envelopes, and a network—whether local seed libraries, online forums like Seed Savers Exchange’s own platform, or even a Facebook group.
The real magic happens when you share seeds with others, ensuring biodiversity thrives while keeping heirloom traits intact. My first swap was a handful of Cherokee Purple tomato seeds that now grow like weeds in my garden.
What you gain is more than just seeds—it’s a living archive of flavors, colors, and resilience. Those heirloom beans you saved last summer? They’ll outperform store-bought varieties in your soil, year after year.
Plus, you’re supporting organic practices by avoiding genetically modified seeds. The community aspect makes it even richer: stories, tips, and that shared excitement when someone’s saved seeds finally bloom.
Whether you’re a solo gardener or part of a group, seed saving scales to your space. Start small with easy crops like beans or marigolds, then expand to tomatoes and peppers.
The goal isn’t perfection—it’s participation. Every seed saved is a vote for a future where gardens grow what matters, not what’s profitable. Ready to plant the seeds of change?
📚 In This Guide
- What you need
- Instructions
- Tips and common mistakes
- Wrapping up and next steps
What you need
- ● Heirloom Seeds: Purchase or trade seeds through the Seed Savers Exchange catalog. Start with 5–10 varieties to manage storage and testing easily.
- ● Seed Envelopes or Paper Bags: Acid-free, moisture-resistant envelopes or small kraft paper bags (1–2 oz capacity). Label each with the seed name, variety, and harvest year.
- ● Desiccant Packets: 2–3 silica gel packets per envelope/bag to absorb moisture and prevent mold.
- ● Air-Tight Containers: Mason jars (quart or pint size) with tight-sealing lids, or
- ● Plastic containers with rubber gaskets (e.g., Tupperware) for long-term storage.
- ● Permanent Markers or Labels: Waterproof, smudge-proof markers (e.g., Sharpie) for labeling containers.
- ● Freezer or Cool, Dry Space: Ideal storage temp: 32–41°F (0–5°C). A home freezer or root cellar works perfectly!
- ● Seed Catalog or Notebook: Track germination rates, growing conditions, and notes on each variety.
- ● Humidity Packs: Additional moisture absorbers for large seed collections.
- ● Vacuum Sealer: Extends seed viability by removing oxygen (great for long-term storage).
- ● Germination Test Kit: Includes paper towels, spray bottles, and a clear container to test seed viability before planting.
- ● Seed Storage Boxes: Stackable, labeled boxes to organize bulk seeds (e.g., plastic bins with dividers).
How to preserve heirloom seeds for future gardens
Here's the straightforward method I've used to save seeds for over a decade—no fancy equipment needed.
🌱 Step 1: Select the Right Plants for Seed Saving
Choose healthy, open-pollinated heirloom varieties that haven't been hybridized. Look for plants with strong stems, no signs of disease, and abundant seed production. I always pick the most vigorous plants in my garden—they'll produce the best seeds for next year.
Wait until seeds are fully mature before harvesting. For tomatoes, this means letting them ripen on the vine until they're soft and slightly overripe. Peppers turn deep in color and feel firm. Beans and peas develop hard, dry pods. You'll know they're ready when you can't dent the seed pod with your thumbnail.
🌿 Step 2: Harvest and Dry Seeds Properly
Collect seeds at their peak ripeness, usually in late summer or early fall. For vegetables like tomatoes, slice open the fruit and scoop out the gel-filled seeds. Rinse them in a fine-mesh strainer under cool water to remove the pulp. Let them sit for 3-4 days until the remaining gel dries and the seeds harden.
For other plants like beans or peas, allow the pods to dry completely on the plant or on a paper towel indoors. Spread them out in a single layer to prevent mold. Seeds are ready when they rattle inside the pod and the pod itself turns brittle. Store them in a cool, dry place while you finish processing.
⏰ Step 3: Clean and Store Seeds for Long-Term Viability
Once seeds are fully dry, remove them from pods or fruit and separate any debris using a fine-mesh screen or fan. I like to use a simple piece of window screen stretched over a frame—just shake it gently to let the chaff blow away while the seeds stay behind.
Store seeds in airtight containers like glass jars or envelopes with silica gel packets to absorb moisture. Label each container with the plant name, variety, and harvest date. Keep them in a dark, cool place—like your refrigerator's crisper drawer—where temperatures stay between 32-41°F. Properly stored seeds can last 5-10 years, sometimes even longer.
💧 Step 4: Test Seed Viability Before Next Planting Season
Before you plant your saved seeds, test their viability with a simple germination test. Take 10 seeds and place them between damp paper towels in a sealed plastic bag. Keep them in a warm spot (70-75°F) for 5-7 days. Check daily for sprouts—if 7 or more sprout, your seeds are good to go.
If fewer than half sprout, you might need to plant more seeds or consider saving fresh ones next season. I always test a few varieties each year to ensure I have reliable seeds for my garden. This small step saves hours of frustration when you're ready to plant.
🌱 Step 5: Plan for Next Season's Seed Saving
Start planning now for next year's seed saving by selecting the best-performing plants in your garden. Make notes about which varieties produced the most seeds, resisted pests, and thrived in your climate. I keep a simple notebook in my gardening shed to jot down observations as I work.
Consider isolating plants that cross-pollinate easily, like tomatoes and peppers, by planting them at least 50 feet apart or using physical barriers like row covers. The more intentional you are about seed saving, the more reliable your heirloom varieties will be for generations to come.
Tips & tricks for perfect heirloom seed preservation
These little-known details make all the difference between seeds that last and seeds that lose their viability.
Selection Matters: In Step 1, when choosing plants for seed saving, focus on the healthiest specimens—look for plants that produced the most seeds and showed the best resistance to pests. I've learned the hard way that saving seeds from struggling plants can lead to weaker varieties. For tomatoes, pick fruits that are slightly overripe—they'll have the most fully developed seeds.
Drying Secrets: The 3-4 days of drying time in Step 2 is crucial, but don't rush it. Place your seeds on a screen or paper towel in a well-ventilated area away from direct sunlight. I've had seeds mold when dried too quickly, especially in humid conditions. A fan on low can help speed up the process without sacrificing quality—just keep it moving gently to avoid blowing seeds away.
Storage Wisdom: When storing seeds in Step 3, don't just rely on airtight containers—add a silica gel packet to absorb any moisture that might develop over time. I keep mine in the crisper drawer of my refrigerator where temperatures stay between 32-41°F, but a root cellar or basement works just as well. Labeling with the variety name and harvest date is non-negotiable—next year's you won't remember what last year's seeds were!
Germination Test: The 5-7 day germination test in Step 4 is your quality control. Place your 10 seeds between damp paper towels in a sealed bag and keep them at 70-75°F. I've found that using a seedling heat mat set to 72°F gives more consistent results than my kitchen counter. If fewer than half sprout, it's time to start fresh with new seeds—don't waste your garden space on low-quality seeds.
Pro Tips for Seed Savers Exchange
- These little-known details make all the difference between seeds that last and seeds that lose their viability.
- Selection Matters: In Step 1, when choosing plants for seed saving, focus on the healthiest specimens—look for plants that produced the most seeds and showed the best resistance to pests.
- Drying Secrets: The 3-4 days of drying time in Step 2 is crucial, but don't rush it.
Frequently asked questions
Got questions about saving seeds and joining the Seed Savers Exchange? You’re not alone! Here are answers to the most common queries to help you get started with confidence.
What types of seeds can I save for the Seed Savers Exchange?
Most open-pollinated and heirloom seeds (like tomatoes, beans, and lettuce) are welcome! Avoid hybrid (F1) seeds—they won’t reproduce true to type. Focus on varieties that thrive in your climate and have a proven track record for seed-saving success.
When is the best time to harvest seeds for saving?
Timing depends on the plant! For example:
- Dry seeds (tomatoes, peppers): Harvest when pods turn dry and crispy (usually late summer/fall).
- Wet seeds (lettuce, spinach): Collect when flowers fade but before they shatter.
- Fleshy fruits (melons, squash): Wait until fully ripe, then scoop out seeds and ferment them for 3–5 days to remove pulp.
Check the Seed Savers Exchange guidelines for plant-specific tips!
Is there a cost to participate in the Seed Savers Exchange?
No! The exchange is free for seed savers to list, trade, or share seeds. However, you may incur costs for packaging (envelopes, labels) or shipping if you’re sending seeds to others. Many participants use recycled materials to keep it budget-friendly.
What if my saved seeds don’t germinate well?
Don’t panic—seed viability can drop over time! Store seeds in a cool, dry place (like a sealed jar in the fridge) to extend their life. If germination rates are low, try:
- Testing a small batch first.
- Checking moisture levels (too damp = mold; too dry = death).
- Asking the Seed Savers Exchange community for troubleshooting tips—they’ve got your back!
Older seeds may need stratification (cold treatment) or scarification (lightly sanding the seed coat) to break dormancy.
Can I save seeds from store-bought vegetables?
It depends! Seeds from heirloom or organic stores often work, but avoid hybrid varieties (common in conventional grocery stores). If you’re unsure, ask the seller or check seed packets for “open-pollinated” labels. When in doubt, start with seeds from trusted seed savers in the exchange!
Wrapping up and next steps
Preserving heirloom seeds through the Seed Savers Exchange isn’t just about saving plants—it’s about honoring biodiversity, sustainability, and the stories woven into every seed. By joining this vibrant community, you’re not only securing genetic diversity for future gardens but also connecting with fellow growers who share your passion. 🌱
Ready to take the next step? Start by browsing the Seed Savers Exchange catalog, selecting a few heirloom varieties to try, and sharing your own saved seeds with others. Your garden—and the planet—will thank you!