
Lawn
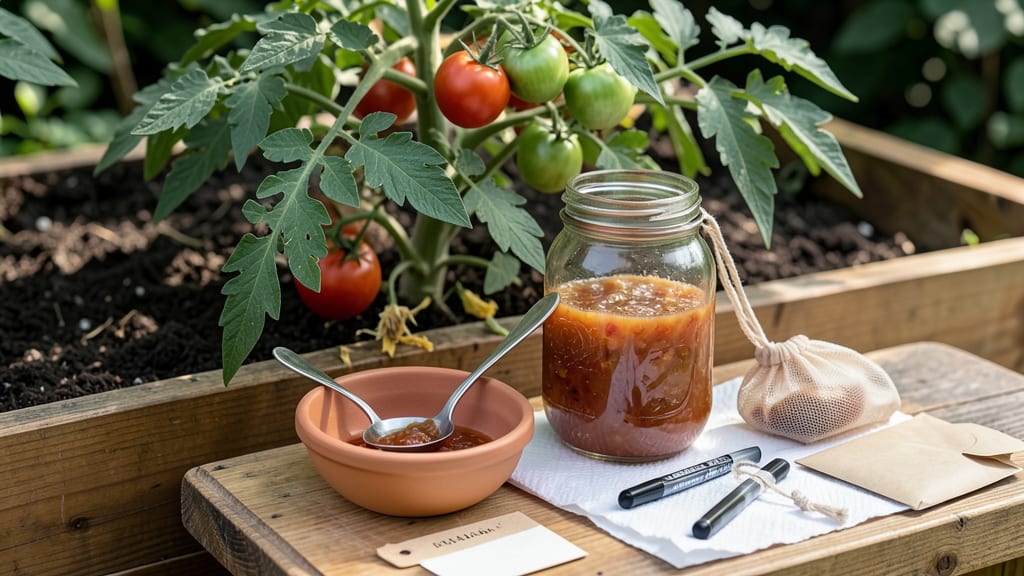
Mastering seed saving techniques means never paying for seedlings again. 🌱 The right drying time keeps viability high—too fast and they won’t sprout; too slow and they lose potency. I’ve saved seeds from tomatoes, beans, and herbs for years, and the difference between store-bought and homegrown is night and day.
You’ll need just a few supplies: paper bags for airflow, a cool dry spot, and patience. Harvest seeds when they’re fully mature but still fresh—usually when the pods turn brown or the seed inside plumps up.
For tomatoes, wait until the fruit is overripe; for beans, let them stay on the vine until they dry completely. This simple process turns last year’s harvest into next year’s foundation.
The payoff is huge: homegrown seeds adapt to your climate, resist local pests better, and save you money. Plus, you’ll watch your garden thrive with plants that perform exactly as your favorites did. No more guessing which varieties will do well—just replant what you know works.
Even beginners can master this with a little practice. Start with easy seeds like beans or peas, then expand to tomatoes and herbs. The key is consistency: proper drying preserves viability for years. Once you try it, you’ll never go back to buying seeds again.
📚 In This Guide
- What you need
- Instructions
- Tips and common mistakes
- Wrapping up and next steps
What you need
- ● Mature, healthy seeds: Collect seeds from open-pollinated or heirloom plants (avoid hybrids unless labeled "breeder-friendly"). Aim for 50–100 seeds per variety to ensure genetic diversity.
- ● Paper envelopes or seed packets: Use kraft paper or breathable seed envelopes (1–2 inches wide) to store seeds. Label each with the plant name, variety, and harvest date.
- ● Silica gel packets: Include 1–2 packets (5–10g each) in sealed containers to absorb moisture and prevent mold.
- ○ Air-tight containers: Mason jars with hermetic seals or ziplock bags with oxygen absorbers (optional but ideal for long-term storage).
- ● Pruning shears or scissors: For cleanly harvesting seed pods or stalks.
- ● Fine-mesh screen or paper towels: To dry and separate seeds from chaff.
- ○ Digital scale (optional): Weigh seeds to monitor moisture content (ideal range: 5–10% moisture).
- ○ Humidity monitor (optional): Keep storage areas at 30–40% humidity for optimal seed longevity.
- ● Knowledge of your plants’ seed maturity signs (e.g., dried pods, browned seed heads).
- ● Access to a cool, dark, and dry space (50–70°F is ideal).
- ● Patience! Proper drying can take 1–4 weeks, depending on seed type.
Step-by-step guide to proper seed drying for viability
Preserving seed viability starts with the right drying process—here's how I ensure seeds stay fresh for years.
🌱 Step 1: Harvest Seeds at Peak Ripeness
Wait until seeds are fully mature before harvesting. For vegetables, this means letting pods dry completely on the plant—think wrinkled, dry skins for beans or brown, papery husks for corn. I always check the seed color: black-eyed peas stay black, tomatoes turn deep red, and beans harden like little rocks.
Harvest on a dry, sunny morning when humidity is low. Use clean, dry scissors or pruners to snip seed heads cleanly. Avoid wet seeds—they'll mold before you can dry them properly. If rain is forecast, harvest early and dry seeds indoors immediately.
🌿 Step 2: Remove Seeds and Clean Gently
Spread harvested seed pods in a single layer on a clean, dry towel or paper towel. Let them dry for 24-48 hours in a well-ventilated area out of direct sunlight. This prevents mold growth while seeds finish drying on the pod.
Once pods are completely dry, gently rub them between your hands or use a small sieve to separate seeds from chaff. I avoid water or brushing—this can damage delicate seed coats. For sticky seeds like tomatoes, let them air-dry an extra day before cleaning.
💧 Step 3: Dry Seeds Thoroughly Before Storage
Spread seeds in a single layer on a mesh screen or paper towel in a dry, dark, well-ventilated spot. I use a seed drying tray with airflow underneath to speed the process. Keep them there until they're bone-dry—no moisture should remain when you squeeze a handful.
Test for dryness by gently crushing a few seeds between your fingers. If they feel dry and crumbly (not powdery), they're ready. If they feel damp or sticky, return them to the drying tray for another 12-24 hours. Proper drying prevents mold and extends seed life.
⏰ Step 4: Store Seeds in Cool, Dark Conditions
Once completely dry, transfer seeds to airtight containers like glass jars or resealable bags. I label each with the variety and harvest date—seeds lose viability over time, and tracking helps you know what to replant first.
Store containers in a cool (35-40°F), dark place like a refrigerator or root cellar. Avoid basements with high humidity or attics that get too hot. Test germination annually by planting a few seeds—if they sprout well, your storage method is working.
Tips & tricks for perfect seed preservation
Here's what nobody tells you about keeping seeds viable longer than the average gardener—these tricks make all the difference.
Harvest Timing is Everything: I can't stress this enough—harvesting too early ruins your entire batch. For tomatoes, wait until the fruit is completely soft and the seeds inside form a gel-like substance. For beans, the pods should be dry and crispy before picking. I've learned this the hard way after having seeds sprout poorly from premature harvests.
Ventilation Prevents Mold: During the 24-48 hour drying period in Step 2, place your drying tray near an open window or fan to create gentle airflow. Stagnant air traps moisture, leading to mold. I've seen entire batches ruined by skipping this step—don't make my mistake! A small electric fan on low works great for consistent airflow without disturbing the seeds.
Test Dryness Properly: The squeeze test in Step 3 is your best friend. When seeds feel dry but not powdery (like crushed chalk), they're ready. If they're still damp, return them to the drying tray for another 12-24 hours. I test multiple seeds from different parts of the batch to ensure consistency—some seeds dry faster than others, especially in humid conditions.
Storage Containers Matter: Glass jars with airtight lids create the perfect sealed environment. I've had resealable bags fail because they don't seal tightly enough—moisture still gets in. For long-term storage, consider vacuum-sealed bags which can extend viability by years. Just remember to label everything immediately with the variety and harvest date!
Pro Tips for Seed Saving Techniques
- Here's what nobody tells you about keeping seeds viable longer than the average gardener—these tricks make all the di...
- Harvest Timing is Everything: I can't stress this enough—harvesting too early ruins your entire batch. For tomatoes, ...
- Ventilation Prevents Mold: During the 24-48 hour drying period in Step 2, place your drying tray near an open window ...
Frequently asked questions
How long should I dry seeds before storing them?
Most seeds need 1–4 weeks of drying time, depending on humidity and seed type. Test for readiness by gently crushing a seed—if it’s brittle and crumbles easily, it’s dry. Store in a cool, dark place (like a sealed jar) to prevent moisture buildup. Pro tip: Use a food dehydrator or silica gel packets for faster results!
Can I save seeds from hybrid plants?
Hybrid seeds (like those from grocery stores) often won’t grow true to type—meaning the next generation may not match the parent plant. For reliable seed saving, opt for heirloom or open-pollinated varieties. If you’re curious, try saving hybrid seeds anyway—you might get surprises!
What’s the best way to store saved seeds long-term?
Keep seeds in an airtight container (like a glass jar or vacuum-sealed bag) with a desiccant packet to absorb moisture. Store in a cool (32–41°F), dark place (like a fridge or root cellar). Label with the variety name and date—seeds typically stay viable for 1–5 years, depending on the type.
What if my seeds won’t germinate after drying?
First, check for moisture or mold—if seeds feel damp or smell off, they’re likely spoiled. Try stratification (cold treatment) for seeds like tomatoes or peppers, or scarification (lightly sanding the seed coat) for tough shells. If all else fails, test a few seeds in damp paper towels to see if they’re still viable!
Can I save seeds from store-bought vegetables?
Yes, but with caveats! Store-bought seeds may be hybrid or treated with chemicals, reducing success rates. Wash seeds thoroughly, dry them well, and store in a cool place. For best results, save seeds from organic, heirloom, or homegrown veggies—they’re more likely to produce true-to-type plants.
Wrapping up and next steps
Mastering seed saving techniques isn’t just about preserving nature’s gifts—it’s about empowering yourself with self-sufficiency and sustainability. 🌱 By following proper drying times and storage methods, you’re ensuring future harvests while reducing waste.
Whether you’re a seasoned gardener or just starting, every saved seed is a step toward a greener, more resilient garden.
Ready to take the next step? Experiment with different seeds, document your drying and storage processes, and share your successes (or lessons learned) with fellow gardeners. Your knowledge could inspire others to join the seed-saving movement—one viable seed at a time!