
Fertilization
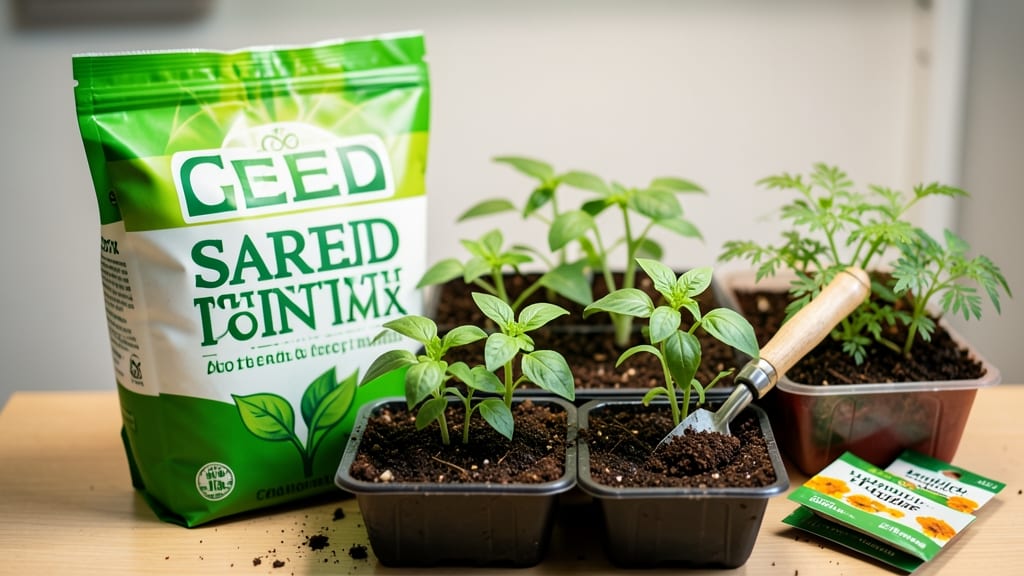
This miracle grow seed starting potting mix is the secret weapon for fast germination and sturdy seedlings that outperform anything from a homemade blend. 🌱 I’ve used it for everything from finicky herbs to stubborn vegetables, and the difference in speed and vigor is night-and-day compared to my old garden soil experiments.
The formula’s magic lies in its airy texture—just right for delicate roots to spread without suffocating. You’ll need shallow trays or small pots with drainage holes, a spray bottle for gentle watering, and a warm spot (around 70°F) to keep seeds cozy.
Overwatering is the #1 killer here; let the top inch dry between drinks.
Within 5-7 days, you’ll see tiny sprouts pushing through, and those seedlings will be ready for transplanting in half the time of my old, slow-starting batches. The mix even has built-in nutrients to prevent leggy, weak stems.
For comparison, homemade mixes require balancing perlite and peat, while other commercial brands often compact over time. This one stays fluffy and performs consistently—no guesswork.
📚 In This Guide
- What you need
- Instructions
- Tips and common mistakes
- Wrapping up and next steps
What you need
- ● Miracle-Gro Seed Starting Potting Mix – 1 bag (8 qt or 12 qt, depending on your needs)
- ● Seed-starting containers – Biodegradable pots, cell trays, or small plastic containers (4–6 inches deep)
- ● Seeds – Choose fast-germinating varieties like lettuce, herbs, or marigolds for quick results!
- ● Watering can or spray bottle – For gentle, even moisture (avoid oversaturating!)
- ● Trowel or small shovel – For filling containers and leveling soil
- ● Grow lights or sunny windowsill – 12–16 hours of light daily (grow lights are ideal for consistent growth)
- ● Seedling heat mat – For faster germination in cooler climates (70–75°F is ideal!)
- ● Humidity dome or plastic wrap – To retain moisture while seeds sprout
- ● Fertilizer (balanced or seed-starting formula) – Once seedlings sprout, dilute to half-strength
- ● Soil moisture meter – To monitor hydration without overwatering
- ● Labels & markers – Keep track of seed varieties and planting dates!
How to use Miracle-gro seed starting potting mix for reliable germination
This lightweight loam delivers the perfect balance of moisture retention and aeration for quick, healthy sprouts.
🌱 Step 1: Prepare Containers for Optimal Drainage
Start with clean, 2-3 inch deep containers—cell packs, small pots, or even recycled egg cartons work perfectly. Poke 2-3 drainage holes in the bottom of each container if they don't already have them. I like to use a nail or ice pick for this, but a drill works too if you're prepping multiple trays. The goal is to prevent waterlogging, which can suffocate seeds before they even sprout.
Line the bottom of each container with a thin layer of perlite or coarse sand—about ¼ inch deep. This extra drainage layer prevents the mix from compacting and keeps roots from sitting in soggy conditions. If you're using seedling trays, skip this step since they often have built-in drainage layers.
💧 Step 2: Moisten the Mix Before Planting
Fill your containers ¾ full with the Miracle-Gro seed starting mix. The key here is to moisten it thoroughly before planting—this prevents air pockets that can block root development. Use a spray bottle or gentle stream of water until the mix feels like a damp sponge. It should hold together when squeezed but not drip water.
I like to tap the containers gently on the table after filling to settle the mix without compacting it. Press down lightly with your fingers to create a firm but not hard surface. This ensures seeds make good contact with the moistened mix, which is critical for fast germination. The mix's lightweight loam texture makes it easy to work with—no clumping or resistance.
☀️ Step 3: Sow Seeds at the Correct Depth
Follow the seed packet's depth guidelines, but a general rule is to plant seeds twice as deep as their diameter. For tiny seeds like lettuce, press them just below the surface—no need to bury them. For larger seeds like beans, plant them ½ inch deep. The Miracle-Gro mix's fine texture makes it easy to create precise planting holes without disturbing the soil structure.
After sowing, cover seeds lightly with a thin layer of the same mix. I use my finger to gently pat the surface, ensuring seeds aren't exposed but also not buried too deeply. Water lightly again with a spray bottle to settle the soil around the seeds. Place the containers in a warm, 70-75°F spot—like on top of a refrigerator or near a sunny window—to encourage fast germination.
🌿 Step 4: Maintain Consistent Moisture and Light
Keep the mix evenly moist but never soggy—this is where the lightweight loam shines. The mix drains well but retains enough moisture to prevent seeds from drying out. Water from the bottom by placing containers in a tray of ¼ inch of water for 10 minutes, then drain excess. This method ensures seeds stay hydrated without the risk of overwatering.
Once seedlings emerge, move them to a bright, indirect light spot. Avoid direct sunlight at first—it can scorch tender new leaves. You'll know they're getting enough light when the seedlings grow sturdy and upright with dark green leaves. If they stretch toward the light or look pale, they need more intensity. A grow light 2-4 inches above the plants works best for consistent growth.
✂️ Step 5: Thin and Transplant for Stronger Growth
When seedlings develop 2-3 true leaves (not just the initial cotyledons), it's time to thin them. Use small scissors to snip unwanted seedlings at soil level—this prevents disturbing the roots of the plants you're keeping. The Miracle-Gro mix's lightweight nature makes transplanting easy; you can move seedlings without breaking the delicate root systems.
For larger containers, transplant seedlings 1 inch deeper than they were growing in their original pots. This encourages stronger root development. Water thoroughly after transplanting and place them in a shady spot for 24 hours to reduce transplant shock. Within a week, you'll see new growth—proof that your fast starts are thriving.
Tips & tricks for perfect seed starting with Miracle-gro mix
Took me a while to figure these out, so here goes—these little details make all the difference when working with this lightweight loam.
Drainage Layer Strategy: In Step 1, if you're using recycled containers without drainage holes, consider adding a ¼ inch layer of perlite at the bottom before the mix. This creates a double drainage barrier that prevents root rot, especially important for delicate seedlings. I've found this extra layer makes a noticeable difference with moisture-sensitive seeds like basil or parsley.
Temperature Matters: The 70-75°F warm spot mentioned in Step 3 is non-negotiable for fast germination. If your home runs cooler, place containers on top of your refrigerator or near a sunny window during the day. I've seen germination times cut in half when seeds start in this ideal temperature range—especially for slower starters like tomatoes or peppers.
Moisture Management: For Step 4's bottom-watering technique, use a tray with slightly higher sides to prevent water pooling around the containers. The 10-minute soak should be just enough to moisten the bottom ½ inch of the mix—no need to fully saturate. This prevents overwatering while ensuring roots establish properly in the lightweight loam.
Light Transition: When moving seedlings to bright indirect light in Step 4, I recommend a gradual transition over 2-3 days. Start with 2 hours of light and increase by 1 hour daily. This prevents the shock that causes seedlings to stretch toward the light source, which weakens their stems permanently.
Pro Tips for Miracle Grow Seed Starting Potting Mix
- Took me a while to figure these out, so here goes—these little details make all the difference when working with this...
- Drainage Layer Strategy: In Step 1, if you're using recycled containers without drainage holes, consider adding a ¼ i...
- Temperature Matters: The 70-75°F warm spot mentioned in Step 3 is non-negotiable for fast germination. If your home r...
Frequently asked questions
Got questions about Miracle-Gro Seed Starting Potting Mix? You’re not alone!
Here are answers to the most common ones—so you can grow with confidence.
Is Miracle-Gro Seed Starting Mix better than regular potting soil?
Yes! This mix is specifically formulated for seeds—it’s lighter, drains faster, and holds moisture without compacting. Regular potting soil can be too dense, suffocating delicate seedlings. Think of it as a premium starter kit for your plants!
How long does it take for seeds to germinate in this mix?
Germination time varies by plant (check seed packets!), but this mix helps speed things up by providing optimal aeration and moisture retention. Most seeds sprout within 5–14 days—just keep the soil consistently damp (not soggy) and warm (70–75°F). Patience pays off!
Can I reuse Miracle-Gro Seed Starting Mix?
Not recommended! This mix is designed for short-term use (seedlings only). After transplanting, the nutrients deplete, and the structure breaks down. For long-term containers, switch to a well-draining potting mix with added compost.
What if my seedlings look leggy or weak?
Leggy seedlings often mean too little light. Move trays to a sunny window (south-facing is best) or use grow lights 12–16 hours/day. Avoid overcrowding—thin seedlings if needed—and ensure the mix stays moist but not waterlogged.
Are there cheaper alternatives to this mix?
Yes! Mix 50% peat moss or coco coir with 50% perlite or vermiculite for a DIY version. Add a slow-release fertilizer (like worm castings) for nutrients. Brands like FoxFarm or Black Gold are also great mid-range options. Budget-friendly doesn’t mean low-quality!
Wrapping up and next steps
Ready to give your seedlings the perfect start? Miracle-Gro Seed Starting Potting Mix is your secret weapon—lightweight, nutrient-packed, and designed to boost germination and root growth like never before.
Whether you're a seasoned gardener or just dipping your toes into green thumbs, this mix simplifies the process while delivering consistent, reliable results.
Now that you’re armed with the right tools and tips, it’s time to roll up your sleeves and plant those seeds! 🌱 Start small, track your progress, and soon, you’ll be harvesting confidence—and maybe even a few homegrown veggies or flowers. Happy growing!