
Lawn
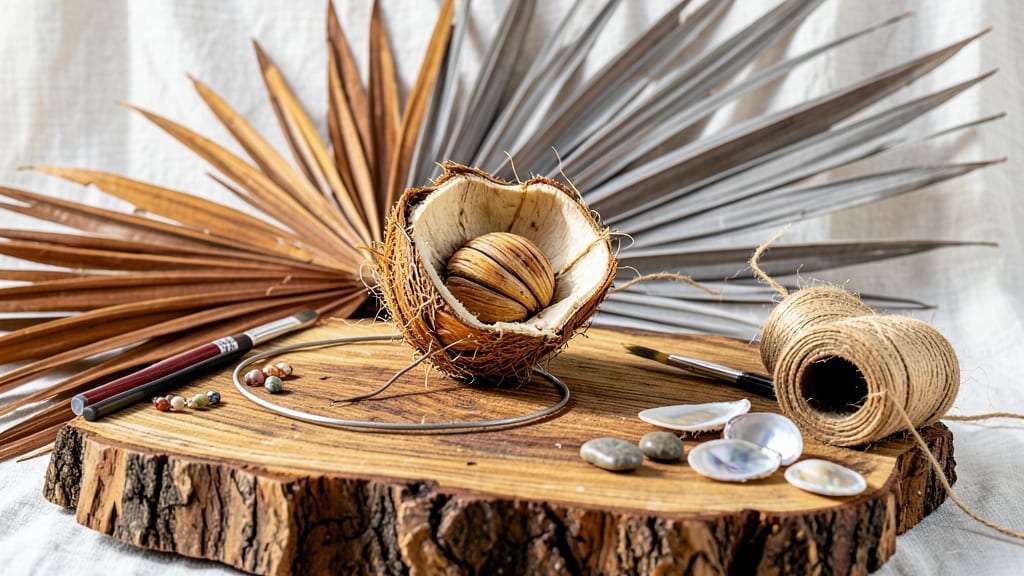
Transforming palm seed pods into garden art is like turning nature’s discarded treasures into statement pieces. 🌿 These sculptural pods—often overlooked as yard waste—become organic planters, whimsical sculptures, or rustic centerpieces with just a little creativity.
I’ve turned my own backyard into a gallery of these earthy masterpieces, and the best part? They’re completely free and 100% sustainable.
The beauty of palm seed pod art lies in its simplicity. No fancy tools or materials are needed—just pods, glue (or hot glue guns), and a bit of patience. You can paint them for a polished look or leave them natural for a raw, organic feel.
My favorite project? A spiral staircase planter made from 20 pods glued together, now home to trailing ivy and ferns. The possibilities are endless, from wall hangings to garden stakes that add height and texture to any space.
What you’ll end up with is decor that tells a story—each pod carries the memory of the palm tree it came from, now repurposed into something fresh and functional. The textures add depth to your garden, while the earthy tones blend seamlessly with any landscape.
Plus, it’s a project that keeps giving: these pieces age beautifully, weathering to a soft patina over time. 🌱
Whether you’re a seasoned crafter or a beginner, this is a project that scales to your skill level. Start small with a single pod centerpiece, or go bold with a full garden installation.
The only limit is your imagination—and the number of pods you can collect. Let’s turn your garden into a living art gallery!
📚 In This Guide
- What you need
- Instructions
- Tips and common mistakes
- Wrapping up and next steps
What you need
- ● Palm seed pods: 10–20 fresh or dried pods (harvested ethically—never harm living palm trees!)
- ● Natural adhesives: White glue or PVA glue (1 small bottle)
- ● OR Hide glue (for a traditional touch, 1 small jar)
- ● Base materials: Wooden or cardboard base (1–2 sheets, size depends on project)
- ● Hot glue gun + sticks (1 pack)
- ● Safety gear: Work gloves (1 pair)
- ● Safety goggles (1 pair)
- ● Cleaning supplies: Soft brush or cloth (for dusting pods)
- ● Rubbing alcohol (small bottle, for sterilizing)
- ● Decorative elements: Acrylic paint (small tubes, earthy tones recommended)
- ● Twine, yarn, or natural fibers (for texture)
- ● Small pebbles, moss, or dried flowers (for embellishments)
- ● Tools for precision: X-Acto knife (for intricate cuts)
- ● Sandpaper (medium-grit, for smoothing edges)
- ● Sealing finishes: Clear varnish or Mod Podge (1 small bottle, for weatherproofing)
How to create palm seed pod sculptures
Transforming nature’s discarded treasures into art is simpler than you think—just gather, prep, and let your creativity flow.
🌿 Step 1: Collect and Clean Your Seed Pods
Start by gathering palm seed pods from your yard or a local park. Look for ones that are dry and free of mold or insect damage—these will hold up best for your project. Rinse them gently under cool water to remove dirt and debris, then let them air-dry completely on a towel or rack. The drying process can take a few days, so be patient. Once fully dry, the pods will be lightweight and easier to manipulate.
Here’s the thing—some pods may still have a slight natural sheen. If you want a matte finish, lightly sand them with fine-grit sandpaper (120-150 grit) to remove any remaining residue. This step ensures your pods will accept glue and paint smoothly later. I like to work with a small handheld sander for efficiency, but a manual sanding block works just as well.
✂️ Step 2: Design and Cut Your Pods
Sketch your design on paper first to visualize how the pods will fit together. Palm seed pods have natural curves and angles, so think about how their shapes can create movement or balance in your sculpture. For example, a spiral design might use pods cut into thin slices, while a geometric piece could rely on precise, angular cuts. Use a sharp craft knife or hobby saw to cut the pods according to your plan.
Don’t rush this step—precision matters. If you’re working with larger pods, wear gloves to protect your hands from the rough edges. You’ll notice some pods split more easily than others; these are perfect for creating hollow sections or layered effects. Save any leftover pieces for smaller details or filler in your design.
🎨 Step 3: Assemble Your Sculpture
Once your pods are cut to size, start assembling them using a strong, non-toxic adhesive like wood glue or epoxy. Apply a small amount to the edges where the pods will meet, then press firmly together and clamp them in place. For larger pieces, use small screws or dowels to reinforce the structure—just be careful not to crack the pods. Let the glue dry completely before moving the sculpture, which usually takes 24-48 hours depending on the adhesive.
As you work, step back occasionally to check the balance and alignment of your pieces. You’ll see how the natural textures and shapes of the pods create a unique, organic look. If a section feels unstable, add extra glue or reinforce it with a thin layer of modeling paste for added strength. This is where your design truly comes to life.
🖌️ Step 4: Finish and Seal Your Art
Once your sculpture is fully assembled and dry, it’s time to seal and finish it. Apply a coat of water-based polyurethane or acrylic sealer to protect the pods from moisture and wear. Let it dry completely, then lightly sand with fine-grit sandpaper to smooth any rough spots. For a polished look, you can paint your sculpture with acrylics or stain it with natural dyes like coffee or tea for an earthy tone. If you prefer a raw, natural finish, skip the paint and let the pods’ colors shine.
Here’s a pro tip: If you’re adding paint, use a thin brush or sponge to apply it in light layers. Thick coats can crack as the pods expand and contract with humidity. Once your sculpture is fully dry, display it in a spot where its organic beauty can be appreciated—like a shelf, mantel, or garden nook.
Tips & tricks for perfect palm seed pod art
Between us, these little details make all the difference when working with nature's raw materials.
Material Selection: Not all palm seed pods are created equal. Look for pods with smooth, unblemished surfaces—they'll hold paint and glue far better than those with cracks or holes. I've found that larger pods with thicker walls provide better structural integrity for complex designs. If you're struggling to find perfect specimens, consider using a mix of sizes to create visual interest in your piece.
Design Strategy: Before making any cuts, sketch your design on paper using the actual pods as reference. The natural curves of palm seed pods can create stunning organic shapes when arranged properly. For example, a spiral design works beautifully with pods cut into thin, curved slices. I always keep a small notebook nearby to jot down ideas as they come—sometimes the best inspiration strikes while you're working.
Adhesive Application: When assembling your sculpture in Step 3, less is more with adhesive. Too much glue can seep out and create messy edges that are difficult to clean. Apply a thin line of adhesive to the edges where pods meet, then press firmly together. For extra stability, use small binder clips to hold pieces in place while the glue sets. Remember, the 24-48 hour drying time is crucial—don't rush this step even if you're eager to see your creation come together.
Finishing Touches: The sealing process in Step 4 is where your sculpture truly transforms. For a natural look, use a clear matte sealer that allows the pods' textures to shine through. If you're going for a polished finish, apply two thin coats of glossy polyurethane, sanding lightly between coats with 220-grit sandpaper. This creates a smooth surface that's perfect for painting or staining. I've found that working in a well-ventilated area is essential when using sealers—those fumes can be strong!
Pro Tips for Palm Seed Pod Art
- Between us, these little details make all the difference when working with nature's raw materials.
- Material Selection: Not all palm seed pods are created equal. Look for pods with smooth, unblemished surfaces—they'll...
- Design Strategy: Before making any cuts, sketch your design on paper using the actual pods as reference. The natural ...
Frequently asked questions
Got questions about turning palm seed pods into stunning eco-friendly art?
You’re not alone! Here are some of the most common queries—plus quick, practical answers to help you craft with confidence.
What’s the best way to prepare palm seed pods for carving?
Start by soaking the pods in warm water for 24–48 hours to soften the fibers. Use a sanding block or fine-grit sandpaper to smooth rough edges, and seal with non-toxic linseed oil or beeswax for durability. Pro tip: Wear gloves—those fibers can be scratchy!
How long does it take for palm seed pod art to dry completely?
Drying time varies: small pieces (like earrings) may take 1–3 days, while larger sculptures can need 2–4 weeks in a well-ventilated, dry space. Check for full dryness by tapping—if it sounds hollow, it’s ready! Warning: Rush it, and your art might crack.
Can I paint or dye palm seed pods? If so, what’s the best method?
Use acrylic paints or natural dyes (like turmeric or beet juice) for vibrant colors. Seal with a waterproof varnish or mod podge to protect your design. For a rustic look, try burning patterns with a soldering iron (safely!) before sealing.
Are there alternatives to palm seed pods for eco-art?
If palm pods are hard to find, try pine cones, acorns, or dried citrus rinds for similar textures. Even seed pods from fruit trees (like mango or jackfruit) work! Check local parks or farmers’ markets for free, sustainable materials.
What tools should I avoid when carving palm seed pods?
Skip metal tools (they can dent or split the pods) and sharp knives—opt for carving gouges, X-Acto knives, or even a drill with a wood-burning tip. For intricate details, a dremel with a sanding attachment works wonders. Safety first!
Wrapping up and next steps
From discarded palm seed pods to stunning eco-friendly art, you’ve now unlocked a creative way to transform waste into beauty—all while honoring nature’s raw materials. Whether you’re crafting playful sculptures, functional decor, or even gifts, your work not only sparks joy but also champions sustainability. 🌿✨
Ready to take your skills further? Experiment with mixed-media techniques, like combining pods with recycled paint or natural dyes, or share your creations in local eco-art communities. Every piece tells a story—let yours inspire others to see the art in everyday waste!