
Picking
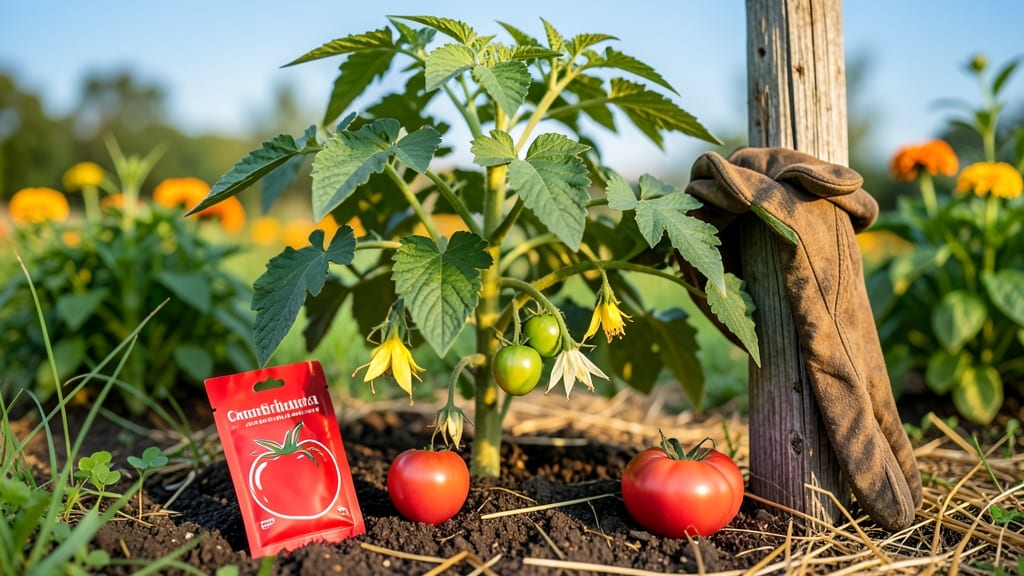
Growing from seed to harvest isn’t just gardening—it’s a year-long adventure where every day counts toward that first bite or burst of color. 🌱 I’ve learned the hard way that timing isn’t just about when you plant; it’s about when you stop too—because letting seeds linger in the soil too long turns sweet peppers bitter and flowers floppy.
The difference between garden gold and disappointment often comes down to those precise moments: when to start seeds indoors, when to transplant, and when to pull them free before they bolt or rot.
The magic starts with seed selection—not all seeds are created equal, and some varieties simply refuse to thrive in your climate. I once planted heirloom tomatoes that took 90 days to mature, but my short growing season only gave me 75.
Lesson learned: check your last frost date and pick fast-maturing varieties or extend the season with row covers. Then there’s soil—too much nitrogen makes plants lush but flavorless, while too little water turns harvests into sad, shriveled disappointments.
Balancing these factors turns a garden from a gamble into a reliable feast.
By harvest time, you’ll know the exact texture of a perfectly ripe tomato—firm but yielding, sweet with just a hint of tart—and the deep satisfaction of pulling a carrot that’s been growing in your soil for months. The secret isn’t just patience; it’s reading the plants.
Wilting leaves? Maybe they need shade. Flowers dropping? Time to pollinate by hand. Every crop has its own language, and once you learn it, you’ll never buy store-bought again.
This works for everything—tomatoes, zinnias, beans, or even microgreens on your windowsill. The principles stay the same: timing, observation, and a little trial and error. Let’s turn your garden into a calendar of precision, where every seed you plant becomes a promise kept.
📚 In This Guide
- What you need
- Instructions
- Tips and common mistakes
- Wrapping up and next steps
What you need
- ● Seeds: Choose high-quality, heirloom or hybrid seeds (check seed packet for days to maturity). Start with 5–10 seeds per variety for small gardens, or scale up as needed.
- ● Growing Medium: Soil: 10–20 lbs of well-draining, organic potting mix (e.g., Miracle-Gro Garden Soil or FoxFarm Ocean Forest). For containers, use 1–2 lbs per 1-gallon pot.
- ● Seed Starter Mix: 5 lbs of lightweight, sterile mix (e.g., Black Gold Seedling Mix) for indoor starts.
- ● Containers: Seed Trays: 1–2 trays (1020-cell or 72-cell) for indoor germination.
- ● Transplant Pots: 4–6 inch pots (1–2 per seedling) for hardening off.
- ● Garden Beds/Containers: Raised beds, 5–10 gallon pots, or in-ground plots (size depends on plant maturity).
- ● Planting: Hand trowel, seedling flat, or planting mat for precision.
- ● Watering: Spray bottle (for seeds), watering can with 0.1–0.2 gallon capacity, or drip irrigation kit.
- ● Lighting: Grow lights (LED or fluorescent, 12–16 hours/day) or a sunny windowsill (south-facing preferred).
- ● Temperature Control: Heat mat (70–85°F) for slow-germinating seeds (e.g., peppers, tomatoes).
- ● Harvesting: Pruning shears, sharp knife, or harvest basket.
- ○ Optional (but handy!): pH meter (ideal soil pH: 6.0–7.0 for most veggies).
- ● Seedling heat gun (for transplant shock prevention).
- ● Garden journal (to track planting dates and flavor notes!).
- ● Weather Data: Local frost dates (check Almanac.com) and last frost date for your zone.
- ● Sunlight Access: 6–8 hours/day for most veggies (verify with a sunlight map).
- ● Time Commitment: 10–30 minutes/day for watering, thinning, and monitoring.
- ● Knowledge: Basic understanding of your plants’ days to maturity and growth stages (e.g., leafy greens vs. tomatoes).
Precision timing for seed to harvest success
Mastering the rhythm between planting and picking ensures flavor and seed quality—here's how to nail it.
🌱 Step 1: Calculate Your Last Frost Date and Plant Accordingly
Start by researching your USDA hardiness zone to determine your last average frost date—this is your anchor. For cool-season crops like lettuce or peas, plant seeds 4-6 weeks before that date so they mature before heat stress arrives. Warm-season crops like tomatoes or peppers need 2-3 weeks after frost risk has passed, when soil reaches at least 60°F. I always mark this date on my calendar and count backward from there.
Here's the thing—soil temperature matters more than air temperature. Use a soil thermometer to confirm readiness. If your soil runs cooler, opt for faster-maturing varieties or use black plastic mulch to warm it 5-10°F ahead of schedule. The goal is to align germination with ideal growing conditions, not just calendar dates.
⏰ Step 2: Track Days to Maturity and Adjust Planting Windows
Every seed packet lists days to maturity—this is your second critical number. For example, if your last frost date is May 15 and a tomato variety takes 70 days to harvest, you'll plant on March 5 to ensure ripe fruit before fall chill arrives. I like to plot these dates on a garden planner app to visualize overlaps and avoid planting too many crops at once.
Watch for sensory cues like bud formation or flowering to confirm progress. If your plants bolt (send up flowers prematurely) or grow too slowly, adjust future planting dates accordingly. Real talk: I once planted basil too early in spring, and it flowered before I could harvest leaves—now I wait until after the last frost when nights stay above 55°F.
☀️ Step 3: Monitor Light and Temperature for Optimal Growth Phases
Most vegetables need 6-8 hours of direct sun daily for peak flavor and seed development. If your garden gets less, choose shorter-day varieties or supplement with a grow light during critical stages. I position my light 2-3 inches above seedlings until they're 4 inches tall, then raise it gradually to prevent burning. The key is consistency—fluctuating light causes weak stems and poor seed set.
Temperature also shifts as plants mature. Early growth thrives at 65-75°F, but many crops need warmer nights (70°F+) to set fruit or seeds. If your evenings cool below 60°F, use row covers or move containers to a sheltered spot. You'll know you've got it right when plants show vigorous leaf production and steady flowering without wilting.
🌿 Step 4: Time Harvests for Peak Flavor and Seed Viability
Harvest leafy greens like kale or spinach when leaves reach 4-6 inches—this is when flavor peaks. For fruiting plants, pick tomatoes when fully colored but still slightly firm, and peppers when glossy and deep in hue. I harvest early in the morning when moisture levels are highest, using clean pruners to avoid damaging stems. The first harvest is always the sweetest—subsequent ones may lag slightly, so succession plant every 2-3 weeks for continuous yields.
For seed saving, let 10-20% of plants mature fully on the stalk. Watch for seed pods to dry on the vine—they'll often turn brown or split open. Harvest seeds in dry weather, spread them on a screen to dry completely, and store in airtight containers in a cool, dark place. I label each batch with the variety and harvest date to track viability over time.
✂️ Step 5: Extend the Season with Strategic Pruning and Succession
To squeeze every ounce of productivity from your garden, prune bolt-prone plants like cilantro or lettuce when they flower—this redirects energy to leaf production. For tomatoes, pinch off suckers (the small shoots in the leaf axils) to focus the plant's energy on fruit development. I also remove yellowing leaves regularly to prevent disease and improve airflow, which keeps plants healthy longer.
Succession planting is your secret weapon. As soon as you harvest a crop like radishes or bush beans, replant the space with a fast-maturing variety or a different crop that thrives in the remaining season. This keeps your garden productive from early spring to first frost without gaps. I've even grown fall carrots where spring peas once stood—just adjust watering as temperatures shift.
Tips & tricks for perfect seed-to-harvest timing
Timing is everything when it comes to growing flavorful crops and saving viable seeds—here's how to avoid common pitfalls.
Soil Temperature Check: The 60°F soil temperature threshold for warm-season crops isn't just a number—it's when cell division really kicks into gear. I've ruined multiple batches of tomato seedlings by planting too early when soil was only 55°F. Use a soil thermometer for 3-5 days before planting to confirm consistent warmth. This is especially critical in cooler climates where spring soil warms slowly.
Days to Maturity Math: That 70-day tomato variety? Planting on March 5 works for Zone 6, but in Zone 8, you might need to plant as late as April 15 to avoid summer heat stress. I recommend plotting your local frost dates and maturity windows on a free garden planner app like GrowVeg. This visual approach helps me avoid overcrowding and ensures each crop gets its turn in the sun without competition.
Harvesting Leafy Greens: The 4-6 inch size guideline for leafy greens like spinach is a great starting point, but don't rely solely on measurements. Look for the first signs of bitterness or tough stems—these are your plant's way of saying "I'm ready to reproduce!" I harvest mine when leaves are still tender but starting to develop slight texture, usually around 5 inches. This timing gives you the sweetest flavor while preventing bolting.
Seed Saving Strategy: When saving seeds, the 10-20% reserve plants should be spaced farther apart than your main crop to prevent cross-pollination. I've learned this the hard way with my heirloom tomatoes—once I accidentally mixed varieties when plants were too close. Store seeds in labeled envelopes with the harvest year to track viability. Most seeds remain viable for 2-3 years, but some like onions and leeks drop in quality after just 1 year.
Pro Tips for Seed To Harvest
- Timing is everything when it comes to growing flavorful crops and saving viable seeds—here's how to avoid common pitfalls.
- Soil Temperature Check: The 60°F soil temperature threshold for warm-season crops isn't just a number—it's when cell division really kicks into gear.
- Days to Maturity Math: That 70-day tomato variety?
Frequently asked questions
Got questions about optimizing your seed-to-harvest journey? You’re not alone! Here are answers to the most common queries to help you grow confidently and efficiently.
What’s the best time to plant seeds for peak flavor?
The ideal planting window depends on your crop, but most vegetables thrive when sown 2-4 weeks before the last frost (check your USDA zone). Leafy greens like spinach can handle cooler temps, while tomatoes and peppers need warm soil (60-70°F). For precision, use a seed-starting chart or local extension service guidelines.
How long does it take from seed to harvest?
Harvest times vary wildly—radishes in 30 days, tomatoes in 60-90, and squash up to 120+! Check seed packets for "days to maturity" (DTM) and adjust for your climate. Pro tip: Start fast growers early (like lettuce) and slow ones (like corn) closer to summer.
Can I save seeds from my harvest for next year?
Yes! Most heirloom, open-pollinated, or non-hybrid seeds can be saved. Focus on healthy, mature plants (avoid hybrids like F1 tomatoes). Dry seeds fully (3-4 weeks in a cool, dark place), store in airtight containers, and label them. Viability drops after 1-2 years, so test a few before committing.
What should I do if my plants bolt or flower too early?
Bolting (premature flowering) happens due to heat stress, short days, or overcrowding. For leafy greens, shade cloth or succession planting can delay it. For root veggies, harvest quickly or use slow-bolting varieties (e.g., 'Winter Density' kale). If flowering starts, enjoy the edible blooms (like broccoli) or pull the plant to redirect energy to others.
Are there low-maintenance alternatives to traditional seed-to-harvest?
Try microgreens (harvest in 1-2 weeks), container gardening (herbs, cherry tomatoes), or regenerative growing like aquaponics. For zero effort, opt for pre-sprouted seeds (like mung beans) or hydroponic kits—perfect for balconies or small spaces!
Why are my harvested seeds not germinating?
Common culprits: old seeds (test viability with a paper towel germination test), improper drying (moldy seeds = no growth), or poor storage (moisture or light degrades them). If seeds sprout slowly, try soaking in warm water for 12 hours before planting to kickstart metabolism.
Wrapping up and next steps
From seed to harvest, the journey of growing your own crops is as rewarding as it is science-backed! By mastering precision timing—whether for flavor, seed viability, or both—you unlock the full potential of your garden.
Every step, from planting to picking, plays a role in the success of your harvest, so embrace the process with confidence.
Ready to take the next step? Start small—plant a few seeds this season and track your progress. Soon, you’ll be harvesting with the expertise of a pro! 🌱✨