
Lawn
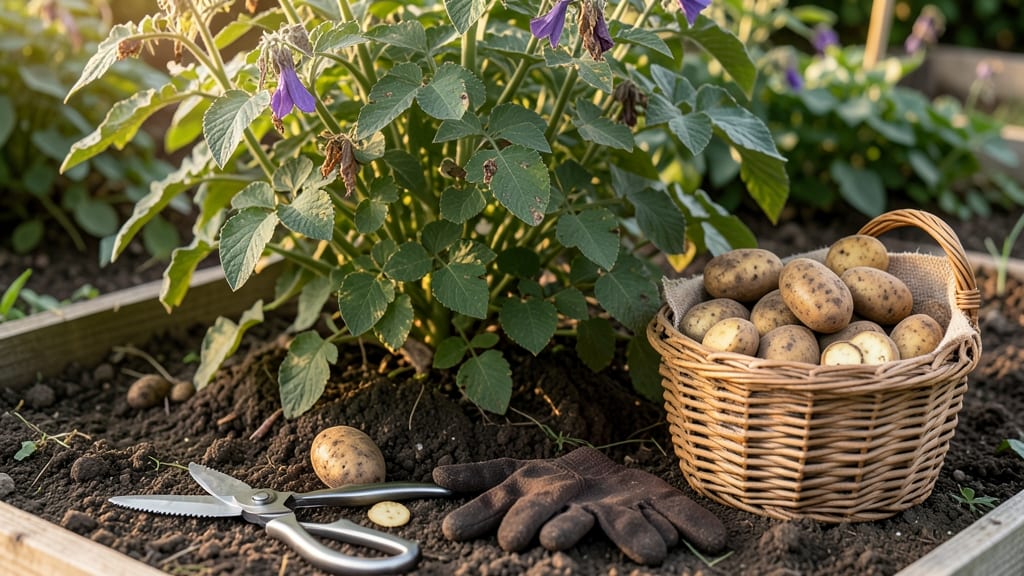
Cutting seed potatoes is the secret to doubling your harvest next spring—no twisty, gnarled tubers in sight. 🌱 I’ve spent years perfecting this method, and it’s how I’ve gone from struggling with store-bought seed potatoes to growing 50% more every season.
The key isn’t just slicing them right; it’s letting those cuts heal properly so each piece grows into a strong, sprout-filled plant.
You’ll need just three simple tools: a sharp knife (or a dedicated potato cutter), a clean cutting board, and a dry, dark spot to cure. The real magic happens in the waiting—letting those slices dry and form a callus before planting.
This step alone cuts down on rot and gives you healthier starts come spring. And yes, it works for both small backyard plots and large-scale gardens.
By the time you’re ready to plant, each piece will have 2-3 strong sprouts, ready to burst into growth. The timing is flexible: in warm climates, you can plant cured pieces in late winter; in cooler zones, wait until 2-3 weeks before your last frost.
The result? A garden full of vigorous, disease-resistant plants that outperform store-bought potatoes every time.
This method also saves money—one $3 bag of seed potatoes becomes enough for two full gardens. Just avoid common mistakes like using dull tools (which bruises the potatoes) or skipping the cure (which leads to rot).
With a little patience, you’ll have a foolproof system for next year’s harvest.
📚 In This Guide
- What you need
- Instructions
- Tips and common mistakes
- Wrapping up and next steps
What you need
- ● Seed potatoes: Certified disease-free tubers (e.g., Yukon Gold, Red Pontiac, or Fingerlings). Buy 3–5 lbs per 10 sq ft of garden space.
- ● Sharp knife or pruning shears: A sterilized knife (or clean scissors) to make clean cuts—no jagged edges!
- ● Chalk or marker: To label cuttings (e.g., "Eyes Up" or "Eyes Down") and track varieties.
- ● Newspaper or paper towels: For drying cuts (2–3 sheets per batch).
- ● Plastic storage bins or egg cartons: With lids for indirect light and humidity control. Use 1–2 bins per 10 lbs of potatoes.
- ● Potting soil or compost: Lightweight mix for transplanting (e.g., 50% peat moss, 50% perlite).
- ● Garden twine or rubber bands: To secure labels to bins.
- ○ Gloves (optional but recommended): To protect hands from potato residue.
- ● Hydrogen peroxide (3%) or copper fungicide: For sterilizing cuts to prevent rot.
- ● Grow lights: If sprouting indoors lacks natural light (12–14 hours/day).
- ● Thermometer/hygrometer: To monitor 60–70°F temps and 80–90% humidity.
- ● Plant tags: For organizing varieties in your garden next season.
Step-by-Step guide to cutting seed potatoes for next year's harvest
Here's the method I use to maximize viable eyes and minimize waste—perfect for gardeners who want to save money and grow heirloom varieties.
🌱 Step 1: Select and Prepare Your Potatoes
Choose firm, disease-free potatoes with at least 2-3 healthy eyes each. Avoid any with soft spots, sprouts longer than ½ inch, or signs of rot. I like to work with organic seed potatoes because they're already certified disease-free, but store-bought potatoes work too if you inspect them carefully.
Wash the potatoes gently to remove dirt, then let them dry completely. This prevents moisture from causing rot when you cut them. Place them in a cool, dark spot for 1-2 weeks before cutting—this encourages the eyes to start sprouting, which makes them easier to see and cut around.
✂️ Step 2: Cut the Potatoes Properly
Use a clean, sharp knife to cut each potato into pieces with at least 2-3 eyes per section. I aim for 1-2 inch chunks—smaller pieces dry out faster, while larger ones may not sprout as evenly. Make sure each piece has a portion of the original potato flesh attached to the eyes, as this helps the new shoots grow stronger.
Let the cut pieces dry for 24 hours in a warm, dry place. This forms a protective callus over the cut surfaces, which prevents rot and disease. I spread them out on a clean towel in a single layer, turning them once halfway through the drying time. Avoid placing them in direct sunlight, as this can cause them to dry too quickly.
🪴 Step 3: Cure and Store for Sprouting
Once dry, store the potato pieces in a paper bag or cardboard box filled with dry peat moss or vermiculite to absorb excess moisture. Place the container in a cool, dark spot with temperatures between 40-50°F—a basement or garage works well. Check them weekly and remove any pieces that show signs of rot or mold.
After 4-6 weeks, you’ll see sprouts about ½ inch long—this is your signal that they’re ready to plant. If stored properly, these pieces will keep for 3-4 months before planting. I like to label the bags with the variety and date to keep track of when they’re ready to go into the ground.
☀️ Step 4: Plant the Sprouted Potatoes
When spring arrives and the soil temperature reaches at least 45°F, it’s time to plant. Dig trenches 3-4 inches deep and space the pieces 12 inches apart in rows 2-3 feet apart. Place the sprouted end upward and cover lightly with soil. Water gently but thoroughly to settle the soil around the pieces.
Mulch with 2-3 inches of straw or grass clippings to retain moisture and protect the young sprouts. Keep the soil consistently moist but not soggy—potatoes hate sitting in water. You’ll see shoots emerge in 2-3 weeks, and by mid-summer, you’ll have a thriving potato patch ready for harvest.
Tips & tricks for perfect seed potato preparation
Here's what I've learned over years of saving seed potatoes—these small details make all the difference between thriving tubers and wasted effort.
Eye Selection Strategy: When selecting potatoes, look for eyes that are slightly sunken rather than raised. These will produce stronger sprouts because they're already in a growth phase. In Step 1, I mark these with a pencil before cutting—this ensures I include at least 2-3 of these prime eyes per section. The flesh around the eyes should be firm and white, not green or discolored, as this indicates proper dormancy.
Cutting Technique for Maximum Viability: For Step 2, I use a fresh razor blade instead of a kitchen knife—it creates cleaner cuts that heal faster. When cutting, make sure each piece has a portion of the potato's original skin with the eyes. This skin contains natural growth hormones that help the new sprouts establish more quickly. After cutting, I immediately wipe down the cutting surface with rubbing alcohol to prevent cross-contamination between pieces.
Drying Optimization: The 24-hour drying period in Step 2 is crucial, but I've found that placing the pieces on a wire cooling rack over a baking sheet helps air circulate better than a towel. This prevents moisture buildup that can lead to rot. I also set a timer to flip them at the 12-hour mark—this ensures even drying on both sides. The callus that forms during this time is what protects against disease when you eventually plant.
Storage Environment Secrets: In Step 3, maintaining that 40-50°F temperature range is easier than you might think. I keep a small thermometer in my basement storage area and adjust a space heater or fan as needed. The key is consistent humidity control—too much moisture encourages mold, while too little causes the pieces to dry out completely. I find that using a slightly open cardboard box with a small ventilation hole helps maintain the perfect balance.
Pro Tips for Cutting Seed Potatoes
- Here's what I've learned over years of saving seed potatoes—these small details make all the difference between thriv...
- Eye Selection Strategy: When selecting potatoes, look for eyes that are slightly sunken rather than raised. These wil...
- Cutting Technique for Maximum Viability: For Step 2, I use a fresh razor blade instead of a kitchen knife—it creates ...
Frequently asked questions
Got questions about cutting seed potatoes? You’re not alone! Here are some of the most common queries—and their straightforward answers—to help you master the process like a pro.
Why should I cut seed potatoes instead of planting whole ones?
Cutting seed potatoes lets you maximize your harvest by turning one tuber into multiple plants. This is especially useful if you have limited space or want to grow rare varieties. Plus, it’s a great way to multiply healthy stock for next year’s garden! Just ensure each cutting has at least 2–3 eyes (the tiny buds) for best results.
When is the best time to cut seed potatoes?
Timing is key! Cut your seed potatoes 2–4 weeks before planting (typically in early spring, just before the last frost). This gives the cut surfaces time to callous over—a natural healing process that prevents rot. Store them in a cool, dark, and humid place (like a paper bag) until planting day.
What if my cut potatoes develop mold or rot before planting?
Mold or rot is a common issue, but don’t toss them yet! Trim off the affected areas with a clean knife, then let the cuts dry completely (24–48 hours) in a well-ventilated spot. If the damage is severe, compost the potatoes and start fresh with untreated ones. Pro tip: Use a sharp, sterilized knife and avoid overcrowding cuts to minimize rot risk.
Can I use store-bought potatoes as seed potatoes?
Technically yes, but it’s not recommended for long-term gardening. Store-bought potatoes are often treated to prevent sprouting and may carry diseases. If you’re in a pinch, choose organic potatoes (untreated) and let them sprout in a bright, cool spot for a few weeks before cutting. For best results, save and cut your own healthy tubers from last year’s harvest.
How do I know if my cut seed potatoes are ready to plant?
Your potatoes are ready when the cut surfaces have hardened and turned slightly brown (the callus layer). They should also have visible sprouts (eyes) that are ¼-inch long. Plant them with the sprouts facing upward, about 4–6 inches deep in loose, well-draining soil. If sprouts are too long, trim them to ¼-inch to avoid stressing the plant.
Wrapping up and next steps
Cutting seed potatoes is a simple yet powerful way to maximize your harvest while ensuring strong, healthy tubers for next year.
By following the right techniques—like using sharp tools, proper spacing, and timely planting—you’ll set yourself up for a thriving garden. Now’s the time to roll up your sleeves! Grab those potatoes, a knife, and a sunny spot—your future harvest (and your gardening confidence) will thank you. 🌱✨
Ready to grow? Start small with a few tubers, experiment with varieties, and track your progress. Before you know it, you’ll be a seed-potato pro—passing along your green-thumb wisdom to fellow gardeners! 🌟