
Propagation
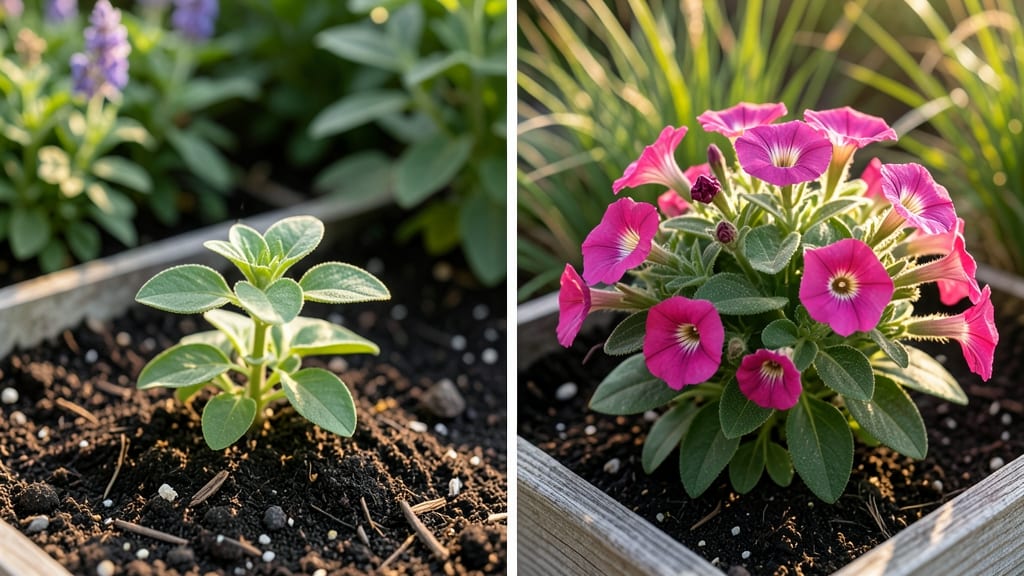
Cold-stratifying seeds unlocks reliable germination for plants that refuse to sprout any other way—and it’s the key to taking them from seed to the blossom. 🌱 I’ve struggled with finicky seeds like lupines and columbines—until I learned this trick that mimics winter’s natural process, giving them the jumpstart they need to break dormancy.
The secret lies in moisture, cold, and patience: wrap damp seeds in a paper towel, seal them in a bag, and refrigerate for 6-12 weeks. No fancy equipment—just your fridge and a little time. This method works especially well for wildflowers, some perennials, and even certain vegetables like parsnips.
By the time you plant them in spring, you’ll see strong, uniform seedlings instead of spotty germination. The payoff? Fewer disappointments and more blooms by summer. Even my black thumb can’t mess this up once you know the rhythm.
Works for both garden beds and containers, and you can adapt the timing based on your last frost date. Here’s how to do it right the first time—no more guessing games with stubborn seeds.
📚 In This Guide
- What you need
- Instructions
- Tips and common mistakes
- Wrapping up and next steps
What you need
- ● Seeds: Choose cold-stratified varieties (e.g., Echinacea, Delphinium, or Lupinus). Start with 5–10 seeds per species for testing.
- ● Cold-stratification medium: Option 1: Damp peat moss or coco coir (1 part medium to 1 part water by volume).
- ● Option 2: Paper towels or paper coffee filters (lightly moistened).
- ● Sealed containers: Ziploc bags (quart-size) or small plastic pots with lids (e.g., 6-inch nursery pots).
- ○ Refrigeration: Standard fridge (34–40°F / 1–4°C) with a crispier drawer (optional but ideal).
- ● Planting pots: 4–6 inch pots with drainage holes + well-draining potting mix (e.g., 60% peat/coco + 30% perlite + 10% compost).
- ○ Misting bottle (for hydration) and humidity dome (optional, for post-stratification).
- ● Labeling supplies: Waterproof markers or popsicle sticks + tape (to track seed types).
- ○ Thermometer/hygrometer (optional, for monitoring fridge temp/humidity).
- ● Grow lights or sunny windowsill (for post-germination care).
- ● Fertilizer: Balanced liquid fertilizer (5-5-5 or 10-10-10, diluted to half-strength).
Step-by-step guide to cold-stratifying seeds for reliable germination
Here’s how I break the dormancy barrier for stubborn seeds—guaranteed to boost your germination rates.
🌱 Step 1: Select and Prepare Your Seeds
Choose seeds that require cold stratification—think hardy perennials like peonies, trilliums, or native wildflowers. I always check the seed packet for cold stratification requirements, as some need 60-90 days while others only need 30 days. If no instructions are given, I default to 60 days for safety.
Before stratification, I inspect each seed for cracks or damage—discard any that look compromised. For small seeds, I mix them with a carrier like damp sand or vermiculite to prevent clumping. The goal is even moisture without soggy seeds. Place the seeds in a labeled paper envelope or small container, then refrigerate.
💧 Step 2: Moisten and Stratify in the Fridge
I use a 1:1 ratio of damp peat moss to perlite for stratification—peat holds moisture while perlite prevents mold. Sprinkle the mix into a sealed plastic bag or container, add the seeds, and seal it tightly. The mix should feel like a wrung-out sponge: damp but not dripping.
Place the container in the vegetable crisper of your fridge, where temperatures stay steady at 35-40°F. I store it on a shelf, not the door, to avoid temperature fluctuations. Check the mix every 2-3 weeks—if it dries out, mist lightly with water. Over-moisture is the enemy here; mold will kill your seeds before they germinate.
⏰ Step 3: Monitor and Test Germination Readiness
After the required stratification period, I transfer the container to a warm, 65-75°F spot to kickstart germination. I like to place it under a grow light for 12-14 hours daily—this mimics spring conditions and signals the seeds to break dormancy.
Watch for the first signs of life: tiny roots or a slight swelling of the seed coat. If seeds remain dormant after 2-3 weeks, I repeat the stratification process for an additional 30 days. Patience is key—some seeds, like trilliums, can take 6-8 weeks to germinate after stratification.
🌿 Step 4: Plant Stratified Seeds in Ideal Conditions
Once seeds sprout, I transplant them into sterile seed-starting mix in small pots. I use 2-3 inch deep containers to accommodate delicate roots. Press the mix gently around the seedling to secure it without compacting the soil—you want roots to spread freely.
Keep the soil consistently moist but never soggy. A clear plastic dome or plastic wrap helps maintain humidity while preventing fungal growth. Place the pots in bright, indirect light for the first week, then gradually introduce direct sunlight as seedlings strengthen. You’ll know they’re thriving when the first true leaves (not cotyledons) appear.
☀️ Step 5: Harden Off and Transition to Outdoor Life
When seedlings have 3-4 sets of true leaves, I begin hardening them off. Start with 1-2 hours of outdoor exposure on a shaded, sheltered spot, then gradually increase time and sunlight over 10-14 days. This slow acclimation prevents transplant shock.
Choose a cool, overcast day for planting outdoors. Dig holes twice as wide as the root ball but no deeper—seeds like trilliums hate being buried too deep. Water deeply after planting to settle the soil and encourage root growth. Mulch lightly with 1-2 inches of organic matter to retain moisture and regulate soil temperature.
Tips & tricks for perfect cold-stratified seed germination
Cold stratification isn't just about throwing seeds in the fridge—it's an art that can make or break your germination success. Here's what I've learned after years of trial and error with stubborn seeds.
Seed Selection Matters: Not all seeds need cold stratification—always check the seed packet first. If it's silent on the matter, I default to the 60-day mark for most hardy perennials. For seeds like trilliums, which can take 6-8 weeks to germinate after stratification, patience truly is a virtue. I've wasted entire seasons rushing seeds that needed more time in their cold dormancy phase.
Moisture Balance is Critical: The 1:1 ratio of damp peat moss to perlite is non-negotiable for me. I've learned the hard way that too much moisture leads to mold, while too little means seeds won't break dormancy. Think "wrung-out sponge" consistency—you should see moisture but not dripping water. I keep a small spray bottle handy to check moisture every 2-3 weeks without disturbing the seeds.
Temperature Consistency Wins: That 35-40°F range in your fridge's vegetable crisper is your golden zone. I store my containers on the middle shelf, not the door, because door temperatures fluctuate wildly. Pro tip: If your fridge runs cooler, you might need to extend the stratification period slightly—just monitor for those first signs of root growth rather than relying strictly on the clock.
Lighting Strategy After Stratification: Once seeds complete their cold treatment, I move them to a warm spot with 12-14 hours of grow light daily. Regular household lights won't cut it—these seeds need that simulated spring sunlight to break dormancy. I use a simple LED grow light on a timer, and within 2-3 weeks, I start seeing those magical first signs of life.
Pro Tips for From Seed To Blossom
- Cold stratification isn't just about throwing seeds in the fridge—it's an art that can make or break your germination...
- Seed Selection Matters: Not all seeds need cold stratification—always check the seed packet first. If it's silent on ...
- Moisture Balance is Critical: The 1:1 ratio of damp peat moss to perlite is non-negotiable for me. I've learned the h...
Frequently asked questions
Got questions about taking your seeds from seed to blossom with cold stratification? You’re not alone—germination can feel like a mystery! Below, we’ve rounded up the most common queries to help you troubleshoot, time your process, and maximize success.
What is cold stratification, and why do some seeds need it?
Cold stratification mimics the natural winter chill many seeds require to break dormancy. Seeds from temperate climates (like apples, peonies, or some wildflowers) often need this 4–12 week cold treatment to trigger germination. Without it, they might sit stubbornly dormant or rot. Think of it as a wake-up call for your seeds!
How long should I cold-stratify my seeds?
Most seeds need 4–12 weeks in the fridge (34–40°F). Check seed packets for specifics—some, like Echinacea or Delphinium, thrive with 8–10 weeks, while others (like Lupine) may need up to 16 weeks. Pro tip: Label your containers and set a reminder to avoid over-stratifying!
Can I use my home fridge for cold stratification?
Yes! Most standard fridges (set to 34–40°F) work perfectly. Store seeds in a sealed, breathable container (like a zip-top bag with holes or a damp paper towel) to prevent mold. Avoid the freezer—extreme cold can damage seeds. For extra humidity, place the container in a larger bag with a damp paper towel.
What if my seeds mold or rot during stratification?
Mold or rot usually means too much moisture. If you notice fuzzy growth or a foul smell, open the container immediately to dry it out. Prevent it by:
Discard any moldy seeds and restart with fresh ones.
Do I need to stratify seeds from tropical plants?
Not usually! Tropical seeds (like hibiscus or bougainvillea) often germinate best with warmth and moisture—no cold required. Focus on heat mats or warm windowsills instead. Always check the seed packet for species-specific tips. For cold-hardy annuals (like snapdragons), stratification can still help!
Wrapping up and next steps
From seed to blossom isn’t just a journey—it’s a rewarding one when you master cold stratification! By understanding the why behind this process and the how to execute it, you’re setting yourself (and your plants) up for success.
Whether you’re a beginner or a seasoned gardener, patience and precision pay off in vibrant, thriving blooms.
Ready to take the next step? Start small—pick one seed type to practice, track your progress, and soon, you’ll be confidently cold-stratifying like a pro. 🌱✨ Happy growing!