
Lawn
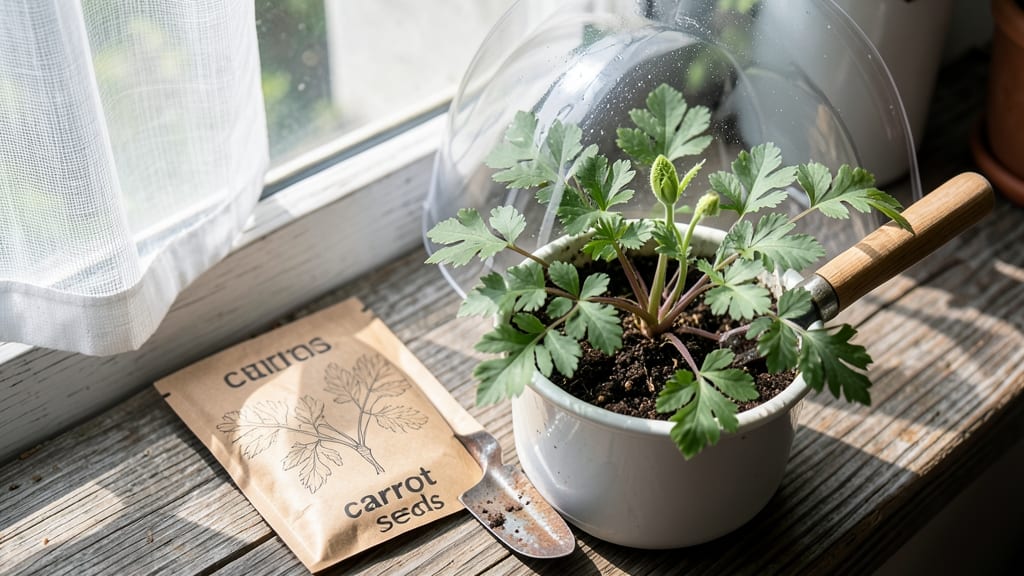
Harvesting carrot seeds starts with the right twist—literally. 🌱 After growing crisp, sweet carrots, saving their seeds for next year’s garden is easier than you think, but only if you know the trick to testing their viability before planting.
I’ve learned the hard way that not all seeds are ready, and a simple twist test saves months of frustration.
The secret lies in timing and patience: let your best carrots bolt naturally in the garden, then dry the seed heads completely before harvesting. Once you’ve collected the seeds, store them in a cool, dark place until spring.
This method ensures you’re not wasting time on seeds that won’t germinate—because nothing’s worse than planting a whole row only to watch it fail.
By mastering this process, you’ll end up with a stash of homegrown seeds that outperform store-bought varieties. Imagine pulling up a row of perfectly straight, sweet carrots—all grown from seeds you saved yourself.
The payoff is worth the extra effort, especially when you see those first green shoots popping up in early spring.
Works for any carrot variety, from classic Nantes to heirloom Danvers. Here’s how to do it right—no guesswork, just reliable seeds for your next harvest.
📚 In This Guide
- What you need
- Instructions
- Tips and common mistakes
- Wrapping up and next steps
What you need
- ● Mature carrot plants: 5–10 healthy, disease-free carrots (preferably heirloom or open-pollinated varieties).
- ● Scissors or pruning shears: Sharp and clean (sterilize with rubbing alcohol if reusing).
- ● Paper towels or newspaper: 2–3 sheets for drying seeds.
- ● Paper envelopes or breathable seed packets: 5–10 small, labeled envelopes (e.g., 3" x 5" size).
- ● Permanent marker or labels: For marking varieties and harvest dates.
- ○ Small mesh bags or cloth sacks (optional): For short-term seed storage (e.g., 1–2 weeks).
- ● Paper towels or coffee filters: 2–3 sheets per test batch.
- ● Spray bottle with water: For moistening (avoid soaking).
- ● Plastic ziplock bags: 2–3 quart-sized bags (sealable).
- ○ Ruler or measuring tape: To monitor germination progress (optional but helpful).
- ● Notebook or spreadsheet: For tracking germination rates (e.g., Google Sheets or a simple journal).
- ● Dry, well-ventilated space: A cool (60–70°F), dark area for seed drying (e.g., a pantry or basement).
- ● Warm, humid conditions: For germination testing (70–75°F is ideal).
- ● Patience: Seeds may take 2–4 weeks to germinate—plan ahead!
Step-by-step guide to harvesting viable carrot seeds
Here's how to save seeds from your best carrots—tested and trusted for next season's garden.
🌱 Step 1: Select and Grow Carrots for Seed Production
Choose open-pollinated carrot varieties like 'Danvers' or 'Nantes' for seed saving. Plant them in well-drained, loose soil (carrots need deep, sandy soil to grow straight). Space plants 12-18 inches apart—this gives them room to bolt and flower without crowding.
Carrots need two growing seasons to produce seeds. In the first year, grow them as usual for harvest. In the second year, leave the best-performing plants in the ground after maturity. They'll send up 2-3 foot tall flowering stalks by late spring. Watch for white to yellow umbrella-shaped flowers—this signals seed readiness.
☀️ Step 2: Allow Flowers to Mature and Dry on the Plant
Once flowers appear, do not disturb the plants. Let them develop seed pods (small, elongated cases) that turn from green to brown. This takes 60-90 days after flowering. You'll know pods are ready when they split open or feel dry and papery when touched.
I always mark my seed plants with stakes or flags so I don’t accidentally dig them up. If you live in a humid climate, cover the stalks with lightweight mesh to protect seeds from rain and pests. Harvest when pods easily crumble between your fingers—that’s peak viability.
✂️ Step 3: Harvest and Dry the Seeds Properly
Cut the flowering stalks at the base and hang them upside-down in a dry, well-ventilated area (like a garage or shed). Place a brown paper bag under each stalk to catch falling seeds. Seeds will continue drying and maturing over 2-4 weeks. You'll see them rain down into the bag as pods open.
Once fully dry, remove seeds from the bag and winnow them by tossing in a gentle breeze or using a fan. The lightweight chaff will blow away, leaving plump, dark seeds behind. Store seeds in paper envelopes in a cool, dark place—viability lasts 3-5 years if kept dry.
💧 Step 4: Test Seed Viability Before Planting
Before sowing next spring, perform the twist test: Take a handful of seeds and twist them gently between your fingers. Viable seeds will click and snap like popcorn kernels. Non-viable ones feel soft and mushy. Aim for 80% or more that pass this test—those are your best bets for germination.
For extra confidence, plant a few seeds in a small pot indoors 6-8 weeks before your last frost date. If 70% or more sprout within 2-3 weeks, your seeds are ready for the garden. If germination is slow, soak seeds in lukewarm water for 12 hours before planting to encourage faster sprouting.
Tips & tricks for perfect carrot seed harvesting
Here's what nobody tells you about getting the most from your carrot seed-saving efforts.
Variety Matters: Stick to open-pollinated varieties like 'Danvers' or 'Nantes'—these are specifically bred to maintain their traits through seed saving. Hybrid carrots won't produce true seeds, so you'll end up with unpredictable results. I've tried saving seeds from hybrid varieties, and the second-generation carrots were disappointingly inconsistent in both size and flavor.
Timing Secret: The 60-90 days of pod maturation after flowering is critical—don't rush this process! I've learned the hard way that harvesting too early means seeds won't be fully developed. Watch for pods that split open naturally or feel dry and papery. If you're in a humid climate, use lightweight mesh to protect your seeds from moisture during this time.
Storage Wisdom: Once you've winnowed your seeds, store them in paper envelopes rather than plastic. Paper allows seeds to breathe and prevents moisture buildup that can reduce viability. Label each envelope with the variety name and harvest date—this helps you track which seeds are freshest. I keep mine in a cool, dark pantry where they'll stay viable for up to 5 years.
Make-Ahead Move: You can actually start your viability test up to 6 months before planting season. Store your seeds in airtight containers in the freezer to preserve them until you're ready to test. When spring arrives, simply thaw them at room temperature for 24 hours before performing the twist test. This gives you a head start on knowing which seeds to plant.
Pro Tips for Seed Of Carrot
- Here's what nobody tells you about getting the most from your carrot seed-saving efforts.
- Variety Matters: Stick to open-pollinated varieties like 'Danvers' or 'Nantes'—these are specifically bred to maintai...
- Timing Secret: The 60-90 days of pod maturation after flowering is critical—don't rush this process! I've learned the...
Frequently asked questions
Got questions about saving and using carrot seeds for next year’s garden? You’re not alone! Here are some of the most common queries—and straightforward answers—to help you navigate the process with confidence.
How do I know if my carrot seeds are still viable for planting?
Perform the float test: Drop a handful of seeds into a glass of water. Viable seeds sink within 10–15 seconds, while hollow or old seeds float. Aim for a 90%+ sink rate for reliable germination. Store seeds in a cool, dark place (like a sealed jar in the fridge) to extend their lifespan up to 3–5 years.
How long does it take for carrot seeds to mature enough for harvesting?
Carrot seeds take 60–70 days from planting to maturity (when the seed pods turn brown and dry). Harvest them by gently twisting the pods off the plant—don’t pull too hard! Spread the pods on a tray in a warm, dry spot (like a sunny windowsill) for 1–2 weeks to fully dry before storing.
Can I use store-bought carrot seeds instead of saving my own?
While saving seeds is rewarding, store-bought seeds are a practical alternative, especially for heirloom or hybrid varieties. Just check the packet for open-pollinated labels if you want to save seeds from future harvests. Store-bought seeds often have higher germination rates and are free from pests/diseases that might affect homegrown seeds.
What should I do if my carrot seeds won’t germinate?
Try these fixes:
- Soak seeds overnight in warm water to soften the hard outer shell.
- Ensure soil temps are 60–70°F (15–21°C)—carrot seeds need warmth to sprout.
- Plant seeds no deeper than ¼ inch; they need light to germinate.
- Test soil moisture—consistent dampness (not soggy) is key.
How should I store carrot seeds long-term?
For maximum longevity:
- Let seeds dry completely (0% moisture) before storing.
- Use an airtight container (like a glass jar or vacuum-sealed bag).
- Keep seeds in a cool (32–40°F / 0–4°C), dark place (e.g., fridge or root cellar).
- Avoid humidity—moisture = mold!
Wrapping up and next steps
Harvesting carrot seeds is a rewarding way to ensure next year’s garden thrives with heirloom varieties and cost savings! 🌱 By mastering the twist-test for viability and following best practices, you’re setting yourself up for a bountiful harvest.
Whether you’re a seasoned gardener or just starting, every seed you save is a step toward self-sufficiency and sustainability.
Ready to take the next step? Start small—try saving seeds from just a few of your favorite carrot varieties this season. Keep a seed-saving journal to track success and refine your technique. Happy gardening, and may your future harvests be as vibrant as your efforts! 🌿